Switching to a POD structure
Before we go any further, we want to make sure that our Ember project uses a POD structure instead of the default one. You can read more about its advantages here, but for now you can just think of it as a better way to structure your app. It's especially useful if you want to break down your app into smaller components (like React.js does) instead of the traditional MVC structure. Moreover, it will probably become the default file structure for Ember apps in the future.
To use a pod structure, open the invisible file .ember-cli located in the root of your directory and add the line "usePods": true so that the final result looks like this:
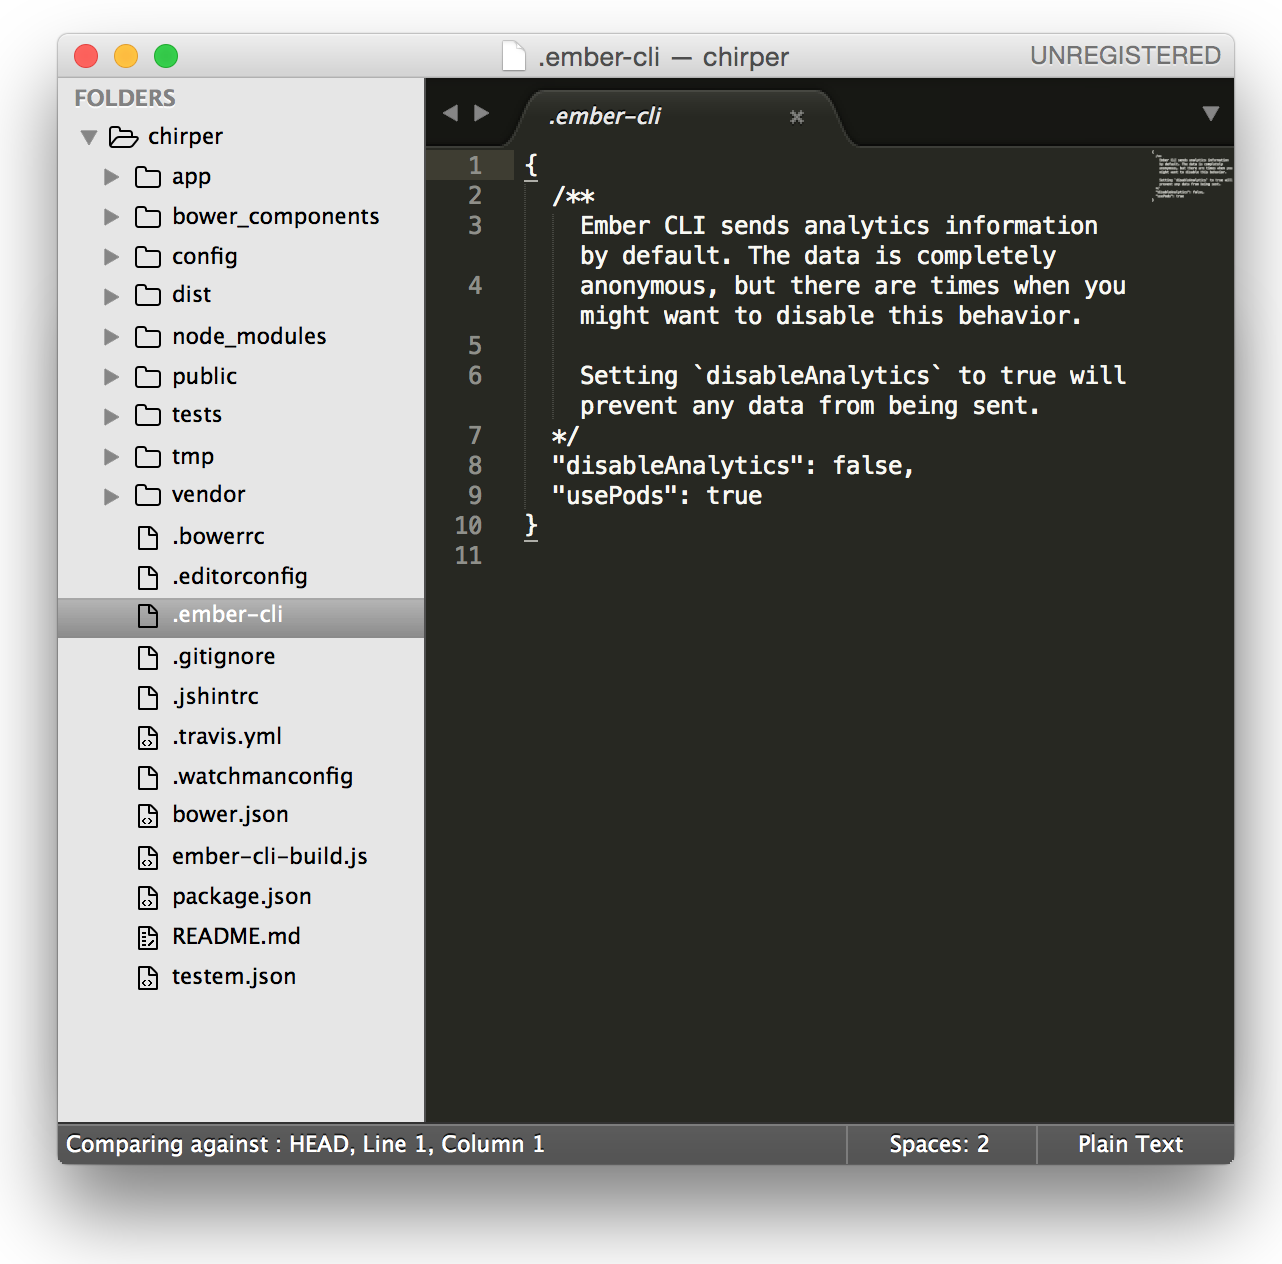 Hidden files are easy to access if you open the entire project folder in Sublime Text.
// .ember-cli

{
  /**
    Ember CLI sends analytics information by default. The data is completely
    anonymous, but there are times when you might want to disable this behavior.

    Setting `disableAnalytics` to true will prevent any data from being sent.
  */
  "disableAnalytics": false,
  "usePods": true
}
With this, we won't be needing some of the folders that Ember automatically created, so feel free to remove the folders app/controllers, app/routes and app/models.
Also, you should move the file app/templates/application.hbs inside a new folder (app/application) and rename it template.hbs in order to fully adhere to the new pod structure. After that, you can remove the templates folder.
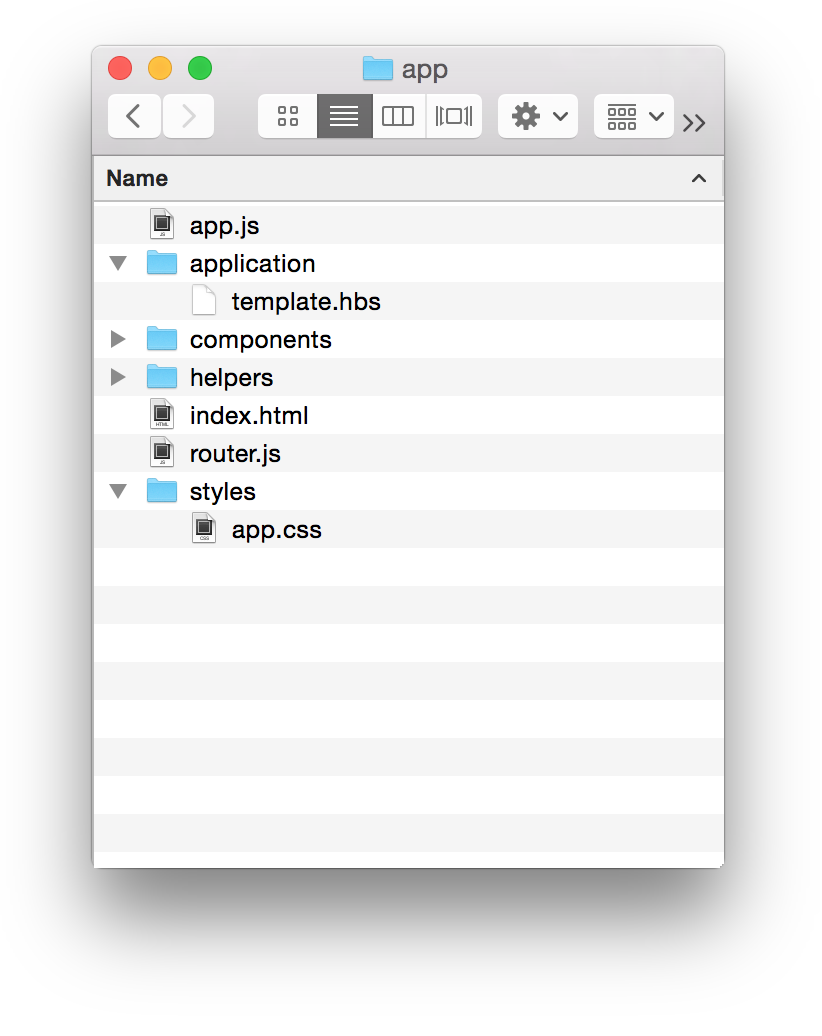 This is what your final file structure inside the app-folder should look like. Make sure yours looks the same!
Go back to the terminal, stop the server (ctrl+c ), restart it with ember server and localhost:4200 should still show "Welcome to Ember.js" as before. Alright, enough with the file meddling, let's start coding!
HTMLBars
Ember uses a templating language called HTMLBars, which is based on the very popular Handlebars-library by Yehuda Katz.
One of the advantages of using a real template engine instead of just adding "magic attributes" to your HTML elements (like in Angular) is that there's a clear distinction between the markup and the logic in your templates.
To get started, make sure you have a good text editor with Handlebars support so that the syntax highlighting works well. Personally, I use Sublime Text 3 together with the Handlebars package.
Let's play around with HTMLBars to see how it works! Open the file app/application/template.hbs in Sublime Text (or whatever text editor you use), and make sure you have ember server running in the background together with localhost:4200 open in your browser.
{{! app/application/template.hbs !}}

<h2 id="title">Welcome to Ember.js</h2>

{{outlet}}
We'll get to what that {{outlet}} is soon. For now, try replacing the "Welcome to Ember.js" text with "Welcome to Chirper" and save the file.
Now go back to your browser window. Magic! Ember automatically detected a change in one of your project files (thanks to Watchman), and rebuilt the app in order to show the changes in your browser in real-time.
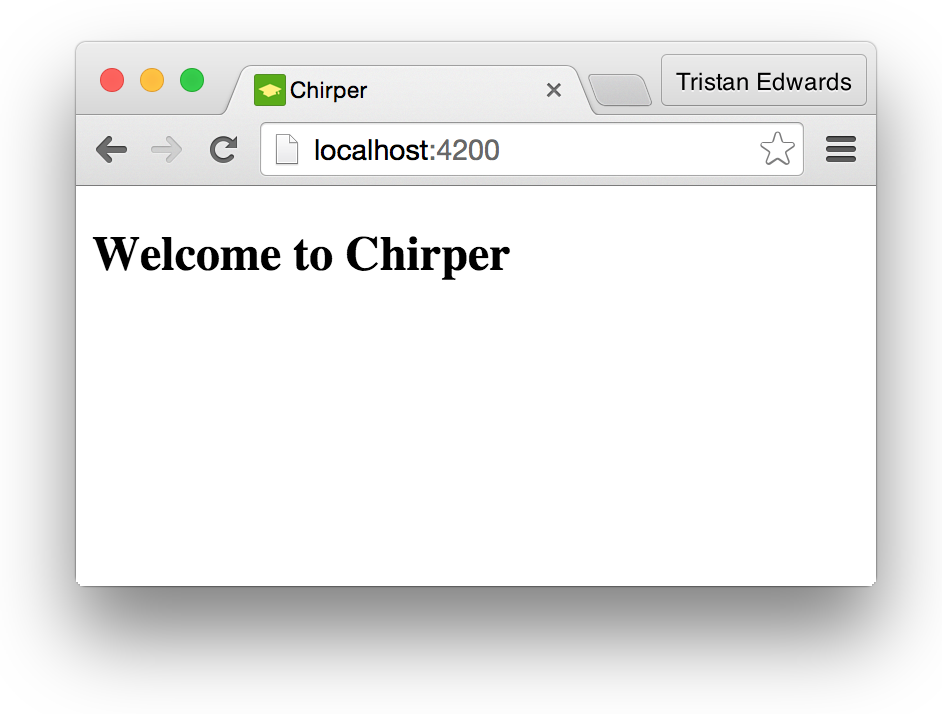 Sweet!
Next, we're going to show you how to add variables and display logic to your markup. Let's start by generating a controller for our application template.
Open a new terminal window (the one using ember server must always run in the background and shouldn't be touched), make sure you're in the chirper-directory and type:
ember generate controller application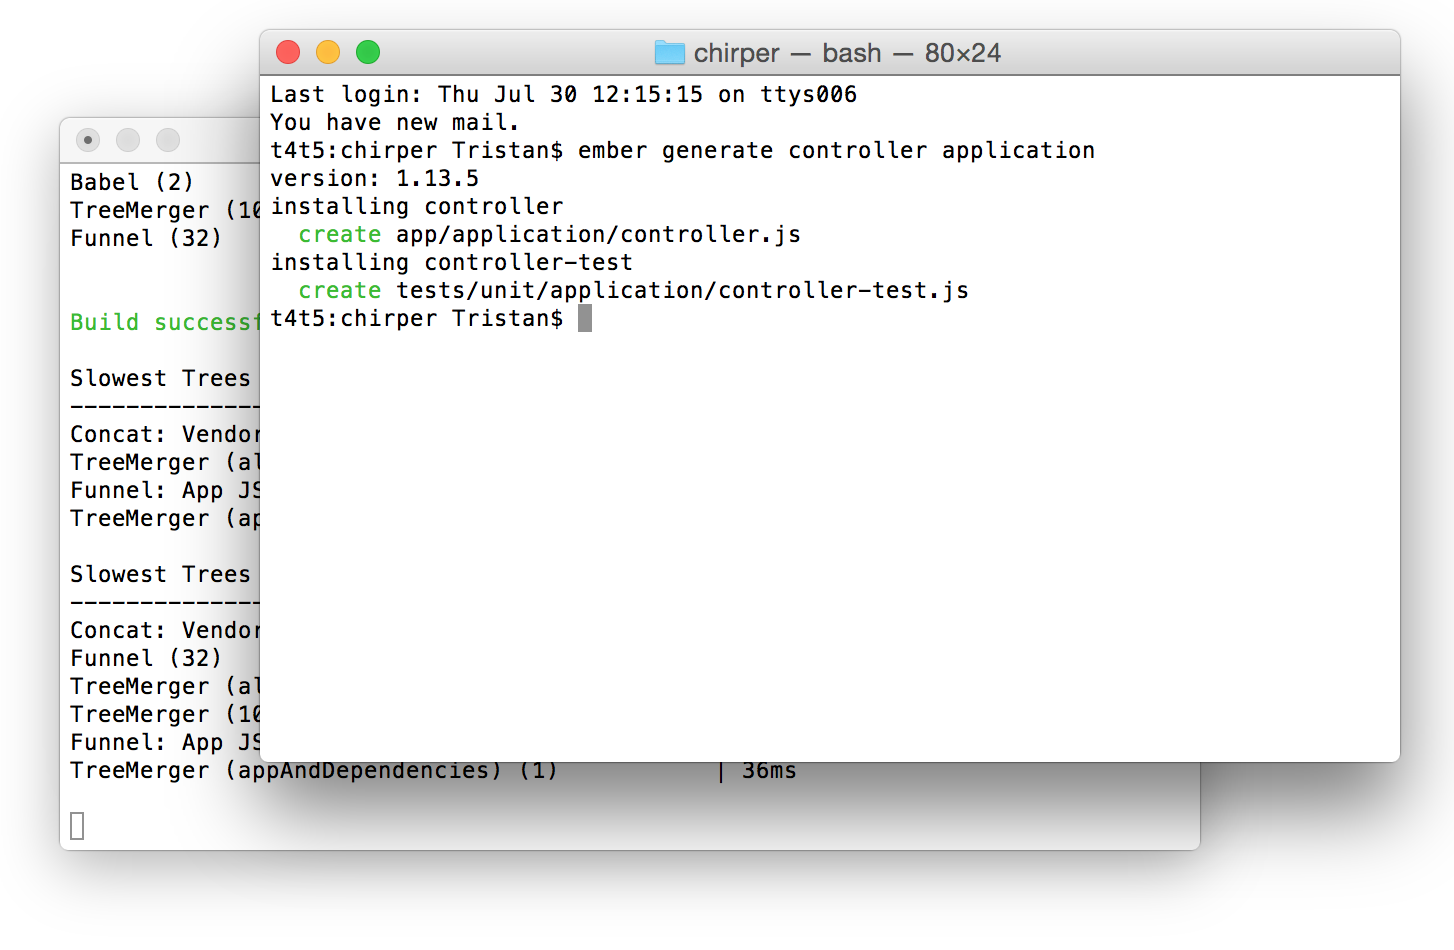 Ember will generate two files: a controller file and a test file (we'll get to the tests towards the end of the course)
Generating files through the ember command is very handy, and something that we will do very often throughout the course, so you can keep this second terminal window open as well.
Open the newly created file app/application/controller.js and add a variable called appName:
// app/application/controller.js

import Ember from 'ember';

export default Ember.Controller.extend({
  appName: "Chirper"
});
Now go back to your Handlebars-file and change the text in order to use our new variable:
{{! app/application/template.hbs }}

<h2 id="title">Welcome to {{appName}}</h2>
After Ember is done rebuilding the app again, you should still see the text "Welcome to Chirper" in your browser window, although now it's using a variable instead of just plain text! Cool!
Flow control
Besides variables, another purpose of controllers is to decide what to show and what not to show in our template, depending on the situation. Let's add a variable called showAppName in our controller. If it's true, we want our app to say "Welcome to Chirper", otherwise we just want to show "Welcome to Ember.js!"
Here's how we would code that in our template-file:
<h2 id="title">
  {{#if showAppName}}
    Welcome to {{appName}}
  {{else}}
    Welcome to Ember.js!
  {{/if}}
</h2>
... and this is the controller:
export default Ember.Controller.extend({
  showAppName: true,
  appName: "Chirper"
});
Try toggling the value of showAppName and you should see the changes in your browser more or less instantly!
if-statements are the simplest forms of control logic that Ember templates have. In the upcoming chapters, we will also take a look at how to use loops.
Adding a header
Alright, now that you've got a taste of how HTMLBars works, let's actually add the stuff that we want for our Chirper app!
What makes the file application/template.hbs special is that it's the main template of your entire application. This means that everything you put here will appear on every single page of your app.
If we go back to our mockups, we can see that the only thing we want to have on all pages is the header, so let's go ahead and add the markup for it! (you can safely remove all the other code we added previously in our template)
{{! app/application/template.hbs }}
<header>
<div class="page-container">
<div class="logo"></div>
<nav>
<a>Home</a>
<a>
<img class="avatar" src="/images/avatar.jpg" />
t4t5 <!-- You can change this to your own username -->
</a>
<button class="chirp">Chirp</button>
</nav>
</div>
</header>
{{outlet}}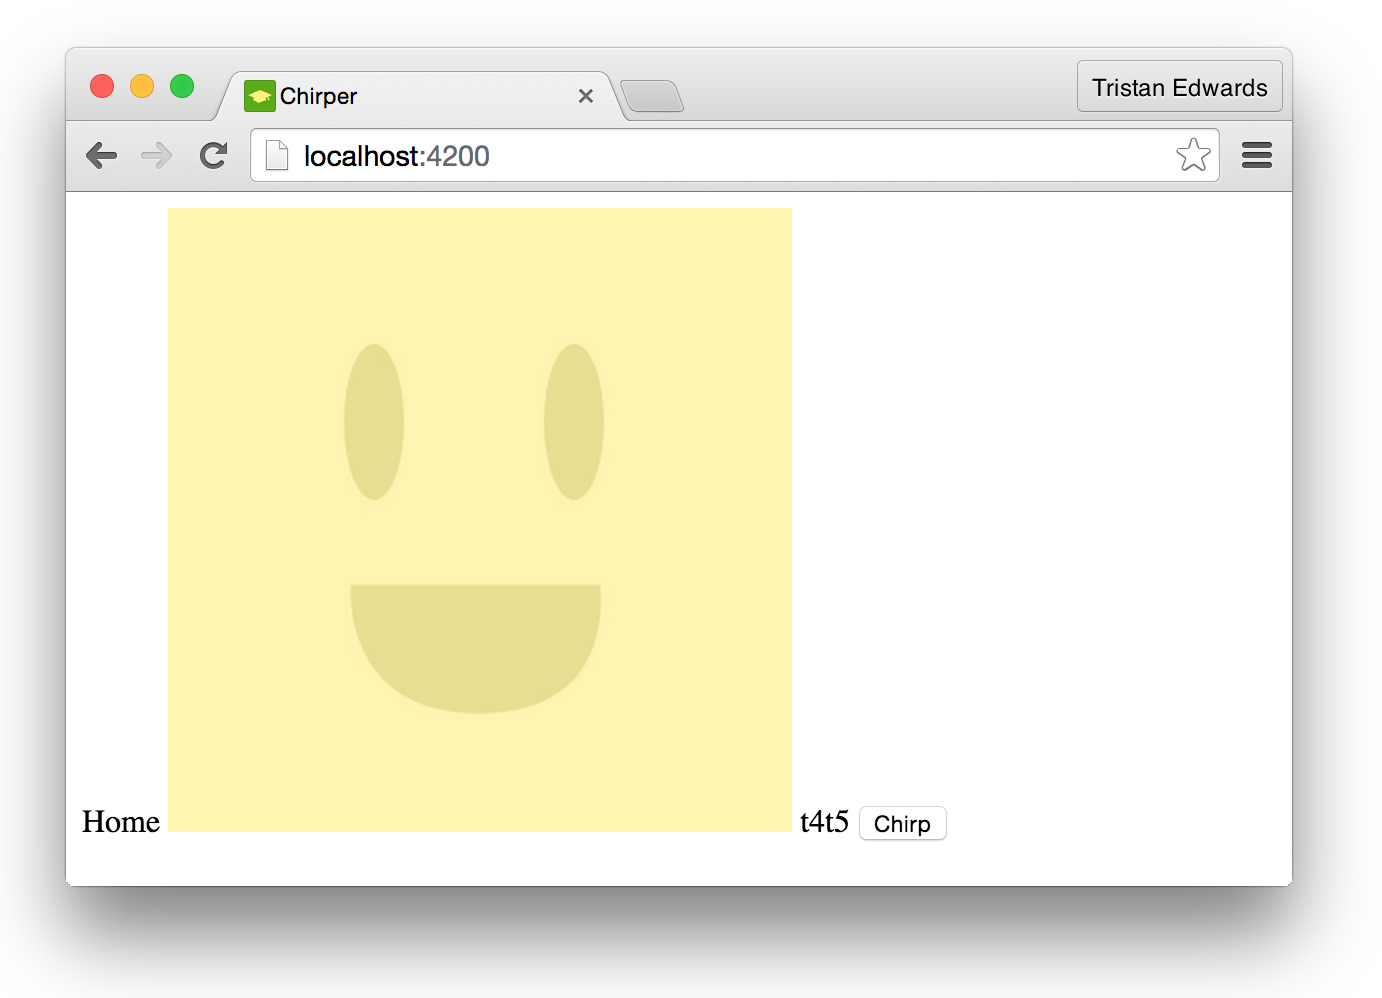 Wow. Such design.
Styling
So we've got the HTML elements there, but the page looks really boring and weird. Let's pimp it with some CSS!
You can very easily add your own CSS in app/styles/app.css, and it will be compiled as soon as you save the file just like your .hbs-files. However, when building large apps it's preferable to use some kind of CSS preprocessor in order to make your stylesheets more maintainable.
The most popular CSS-preprocessor today is SCSS(a.k.a. SASS), so that's what we'll be using. If you've never used SCSS before, just think of it as regular CSS but with some useful extra features like nested tags and variables.
Here's the best part: adding support for SCSS to your Ember project is super easy! Just bring up that terminal window where you previously generated a controller and this time type:
ember install ember-cli-sassOnce it's done, change the name of the file inside the app/styles-folder from app.cssto app.scss. After that, restart the Ember server again (remember, CTRL+C then ember server). Alright, now you're ready to use SCSS!
SCSS allows you to easily split up your stylesheets, so let's create a new file called header.scss in the styles-folder (we'll import it into app.scss later):
 A simple way to create new files in Sublime Text
Since this isn't a CSS-tutorial, we won't go through exactly how the stylesheets work, you can just copy-paste the content into the file:
// app/styles/header.scss

$header-height: 50px;

header {
  position: fixed;
  left: 0;
  right: 0;
  top: 0;
  height: $header-height;
  background-color: white;
  box-shadow: 0px 1px 2px 0px rgba(0,0,0,0.12);
  z-index: 100;

  .logo {
    width: 113px;
    height: 39px;
    background-image: url("/images/logotype.svg");
    margin-top: 6px;
    float: left;
  }

  nav {
    float: right;
    margin-right: 20px;

    a {
      height: $header-height;
      display: inline-block;
      line-height: $header-height + 5px;
      padding: 0 20px;
      font-size: 15px;
      color: #669876;
      position: relative;
      float: left;
      overflow: hidden;
      &::after {
        content: '';
        height: 5px;
        position: absolute;
        bottom: -5px;
        left: 0;
        right: 0;
        background-color: #81af90;
        transition: bottom 0.2s;
      }
      &:hover::after, &.active::after {
        bottom: 0;
      }
      &.home {
        padding-left: 48px;
        background-image: url("/images/home-icon.svg");
        background-repeat: no-repeat;
        background-position: 15px 14px;
      }
      .avatar {
        width: 28px;
        height: 28px;
        position: relative;
        top: 8px;
        left: -3px;
      }
    }
  }
}

button.chirp {
  background-color: #6CB782;
  background-image: url("/images/chirp-icon.svg");
  background-repeat: no-repeat;
  background-position: 8px;
  border: 1px solid #71AC83;
  border-radius: 3px;
  color: white;
  padding: 7px 20px;
  padding-left: 35px;
  font-size: 15px;
  outline: none !important;
  float: right;
  margin-top: 11px;
  margin-left: 15px;
}
We'll also create a file called layout.scss for our layouts and another one called ui.scss that styles some basic HTML elements.
// app/styles/layout.scss

$header-height: 50px;
$bg-color: #f1f4f2;

* {
  margin: 0;
  padding: 0;
  font-family: "Helvetica Neue", Helvetica, sans-serif;
  box-sizing: border-box;
}

.page-container {
  width: 1190px;
  margin: 0 auto;
  position: relative;
}

body {
  background-color: $bg-color;
  margin-top: $header-height;
}

main {
  width: 590px;
  margin: 80px auto;
  padding-bottom: 20px;
}

aside {
  width: 288px;
  position: fixed;
  top: 80px;

  &.right {
    right: 0;
  }
}
// app/styles/ui.scss
$link-color: #81af90;
$link-text-color: #669876;
a {
color: inherit;
text-decoration: none;
}
ul {
list-style-type: none;
}
.card {
background: white;
box-shadow: 0px 1px 2px 0px rgba(0,0,0,0.21);
border-radius: 3px;
border: none;
}
.avatar {
border-radius: 50%;
background-color: white;
background-size: cover;
background-position: center center;
}
.cover-photo {
background-image: url("/images/cover.jpg");
background-size: cover;
background-position: center center;
}
input, textarea {
background: white;
border: 1px solid #C8C8C8;
border-radius: 2px;
padding: 10px;
width: 100%;
box-sizing: border-box;
font-size: 16px;
font-weight: 300;
margin: 4px 0;
transition: box-shadow 0.2s, border 0.2s;
&:focus {
outline: none;
box-shadow: 0px 0px 0px 2px rgb(99, 176, 231);
border: 1px solid rgb(99, 176, 231);
}
}
button {
background-color: #6CB782;
border: 1px solid #71AC83;
border-radius: 3px;
font-size: 15px;
color: white;
padding: 8px 18px;
cursor: pointer;
outline: none !important;
&:hover {
background-color: #64A677;
}
&.signup {
background-color: #FDBB4D;
border: 1px solid #E5A12F;
color: #7B5F1E;
&:hover {
background-color: #F2AD3A;
}
}
&.logout, &.red {
float: right;
margin-top: 10px;
background-color: rgb(219, 137, 122);
border: 1px solid rgb(211, 122, 122);
}
}
p.error {
background-color: #fbedc0;
border: 1px solid #f0e1b9;
color: #715E55;
margin: 0;
text-align: center;
font-size: 15px;
padding: 9px;
}Since we have everything nicely separated now, the sole purpose of the default app.scss-file will be to import all the other files:
// app/styles/app.scss
@import "layout";
@import "ui";
@import "header";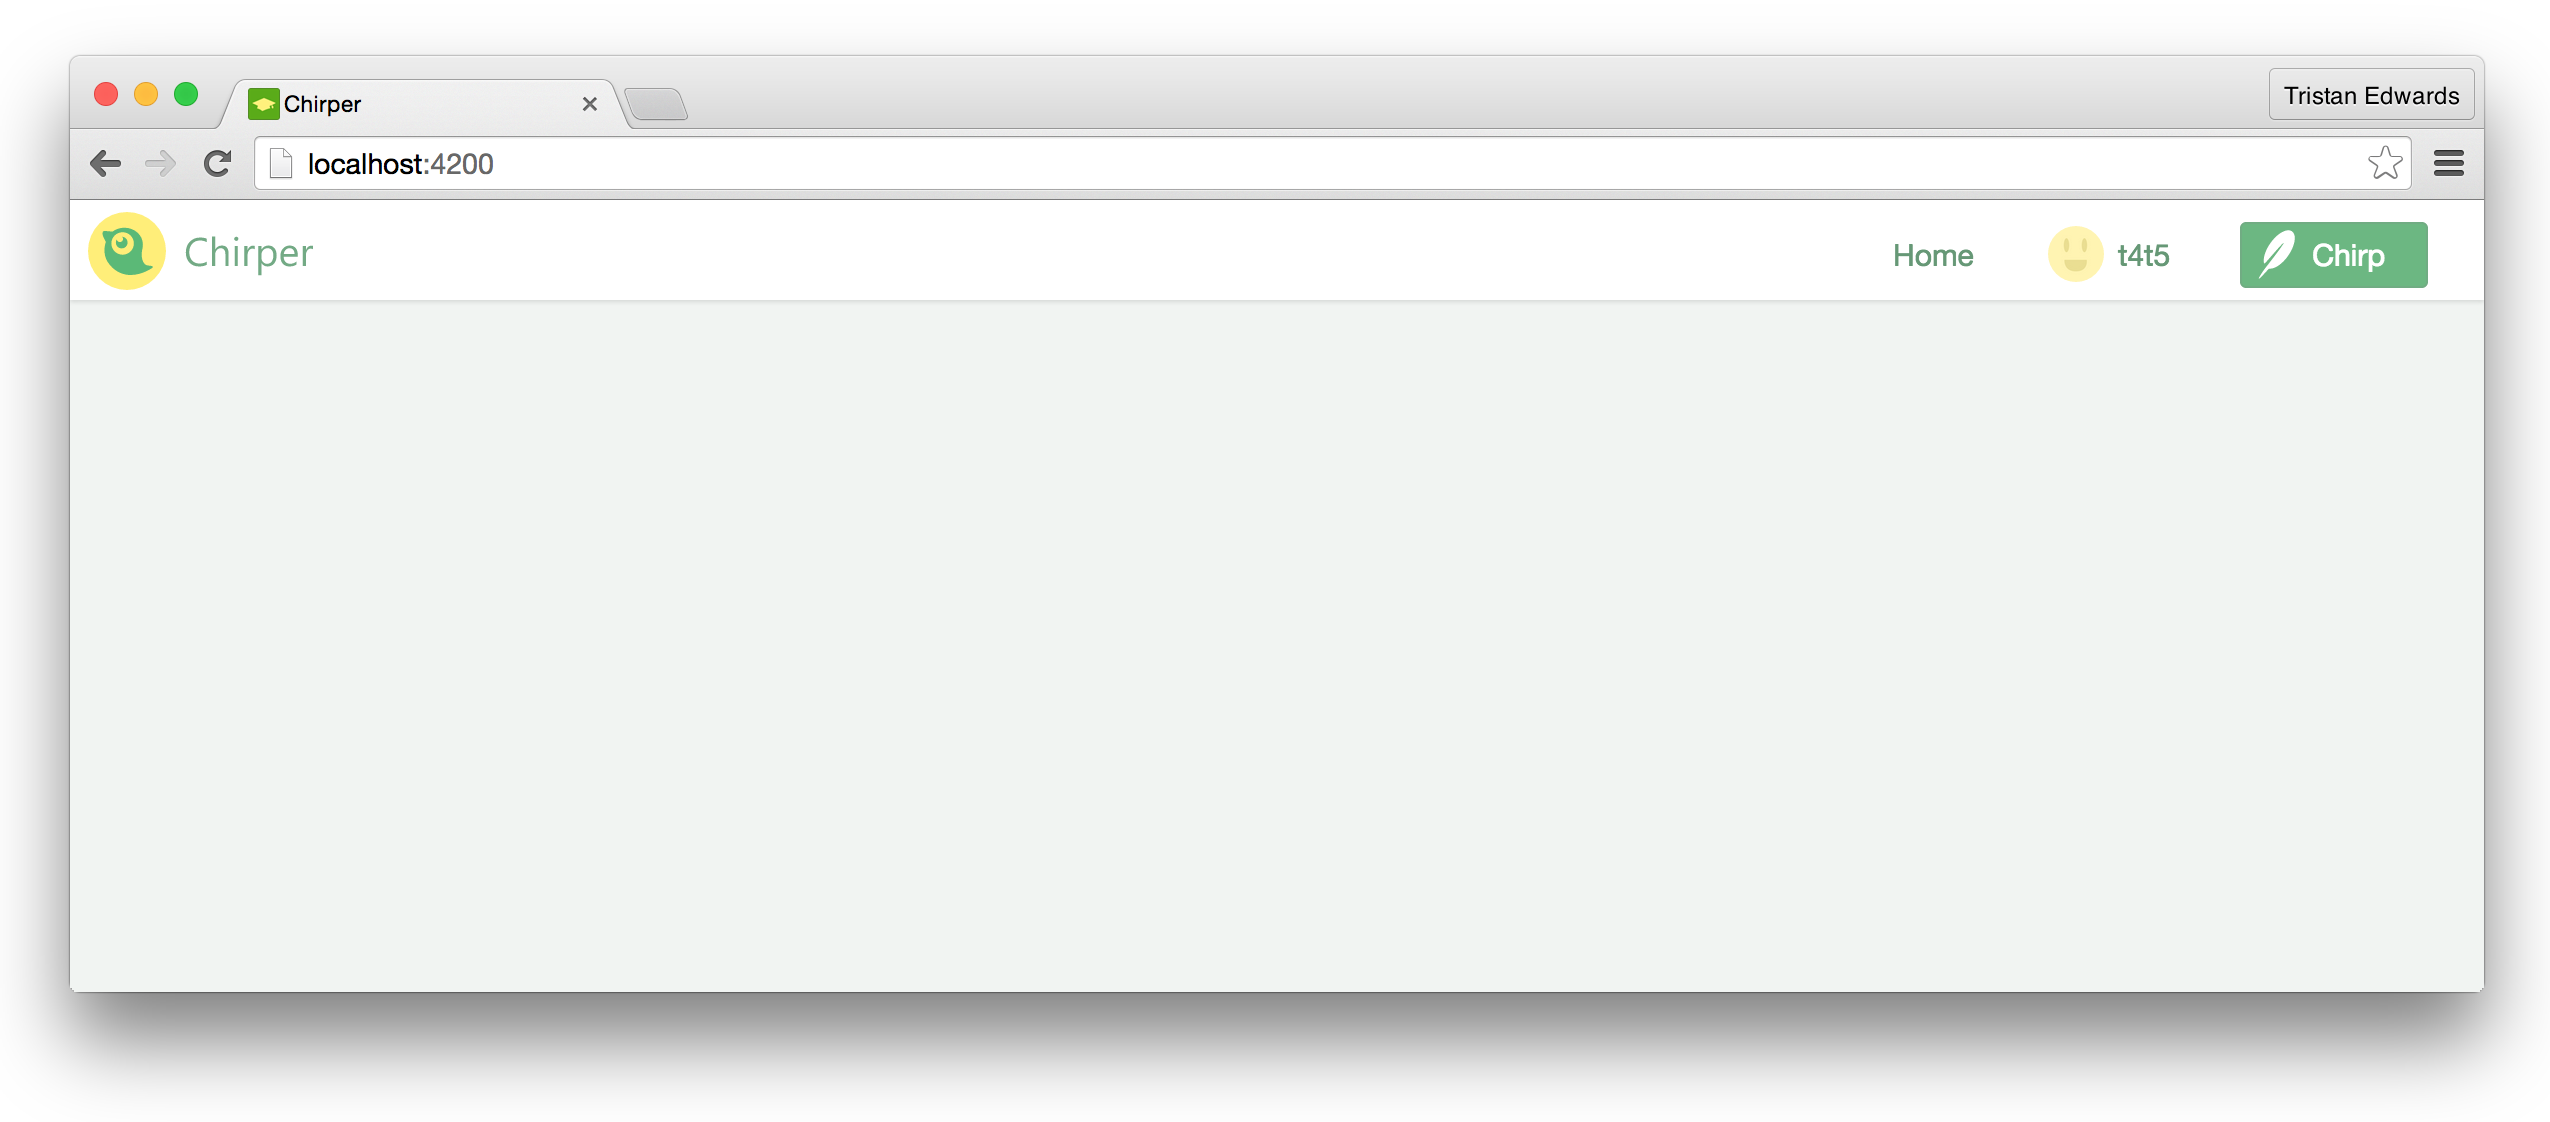 This is what your app should look like now. Much better!
In the next chapter, we're going to add some more pages to our app!