In this chapter, we're going to show how to import external libraries to use in your Ember app.
We will first show the easy way of doing it, using an Ember Addon, and then the harder (although still pretty simple) way of importing a library that's not customized for Ember specifically.
Using an Ember Addon: ember-moment
The first thing we would like to fix in our app is those ugly timestamps. Instead of showing the raw time format, we would like to convert it to something more user friendly, and relative to the current time (e.g. "five minutes ago" instead of Mon Jun 08 2015 11:30:27 GMT+0200 (CEST))
Luckily, there's a great library called Moment.js which does exactly that. Even better, some talented developers have made an Ember Addon for it.
This should be the first thing you do whenever you need some external library: check if there's a corresponding Ember Addon. Seriously, it can save massive amounts of time and there's a great website for browsing through all of the existing addons.
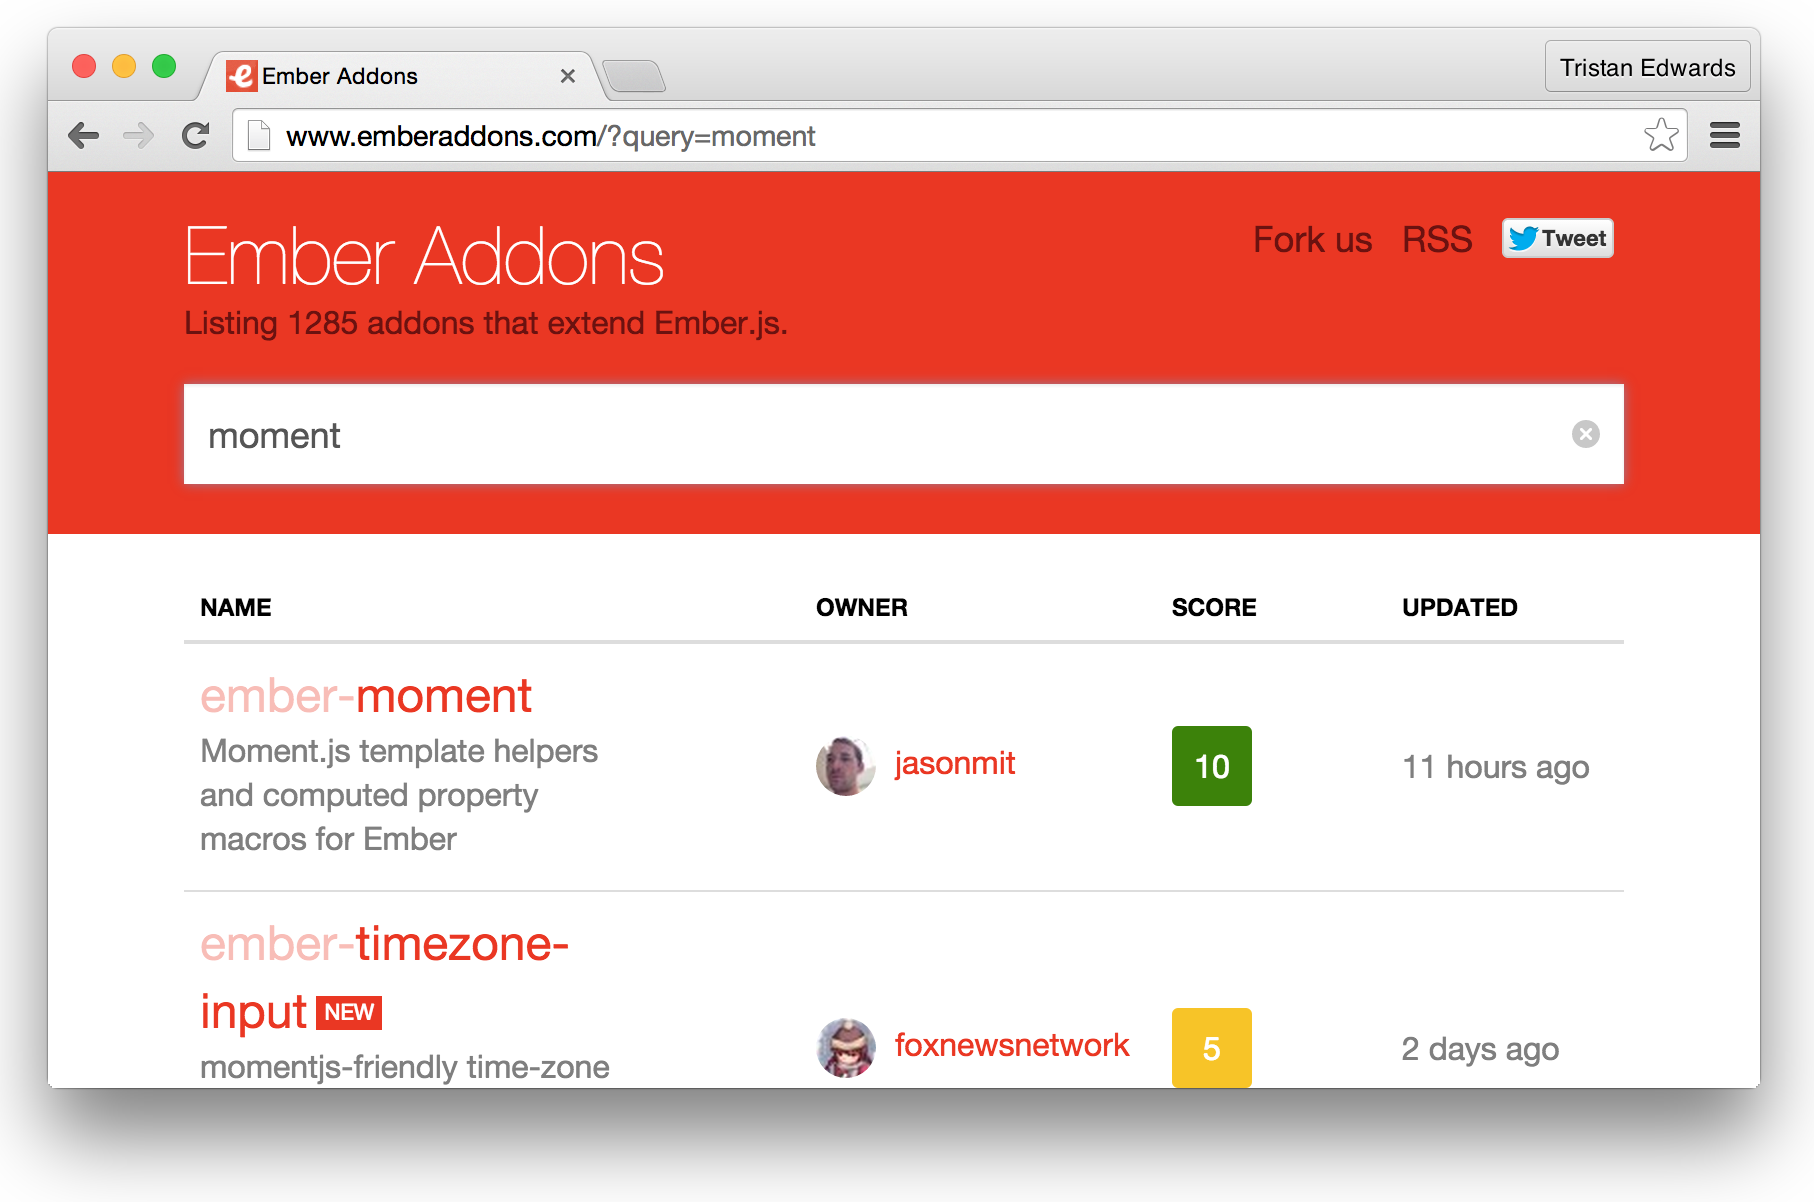 emberaddons.com is great for finding the Addons you need!
Like all Ember Addons, ember-moment can be installed with a simple command in your terminal:
ember install ember-momentAs you might remember, you have to restart the server when installing an addon in order for Ember to pick it up, so go ahead and do that first before changing any code.
Now let's update our chirp-message-component so that it uses the moment addon. The only thing we need to do to make the timestamp relative and user-friendly is to add the keyword "
{{! app/components/chirps-list/chirp-message/template.hbs }}
<time>{{moment-from-now chirp.createdAt}}</time>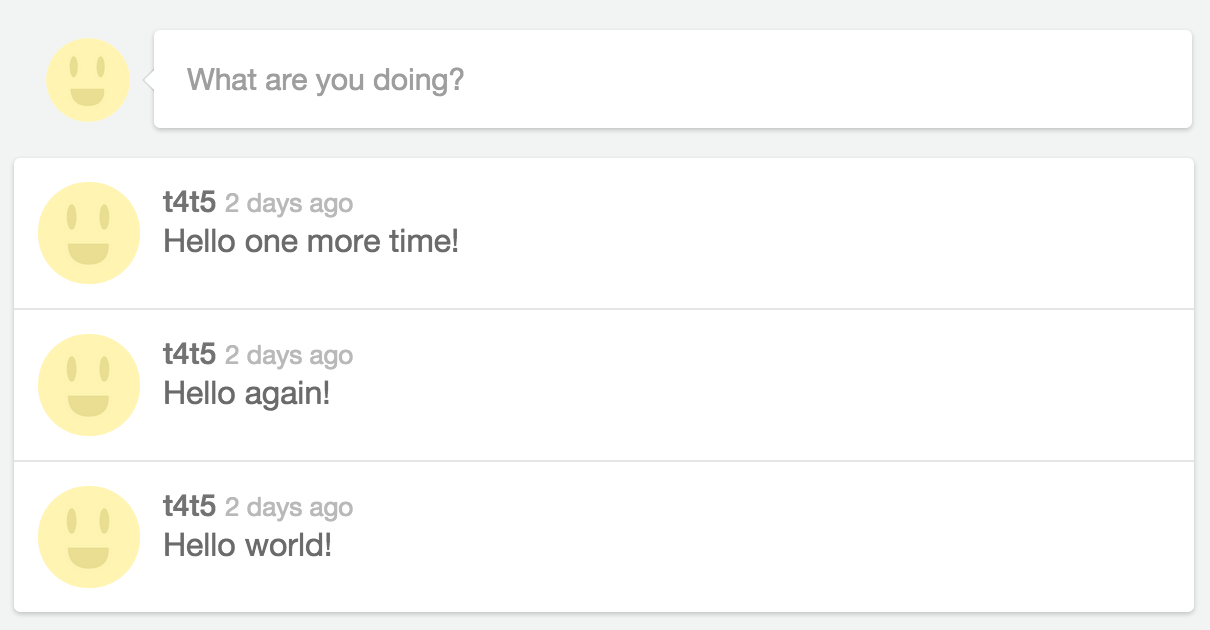 There it is! Wasn't that easy?
We'll also do the same for the join date on our profile page (near the bottom of the file):
{{! app/user/template.hbs }}

<p class="joined">Joined {{moment-from-now model.user.joinedAt}}</p>
As you can see, Ember addons are incredibly useful, and often just require some Handlebars markup. No need to manually import JavaScript files and wrestle with the code implementation, it just works!
Using "regular" libraries
What if the library you need doesn't have an Ember addon? In this case you're going to have to follow this workflow:
-
Install the library through Bower
-
Import it through the file
ember-cli-build.js -
Edit the
.eslintrc.js-file (if needed) to avoid errors
Let's try this out by importing SweetAlert (a simple library for showing error messages to the user).
You could download the library's code manually from GitHub and place it in your vendor-folder, but since the library exists on Bower, it's preferable to download it from there so that you can easily keep track of the version number.
bower install sweetalert --saveYou should now be able to find the library at bower_components/sweetalert. The next step is to import the necessary files into the asset compilation process. Remember, Ember compiles and minifies all your JavaScript into one "super-file" (it also does the same for your CSS), so we need to specify that we want SweetAlert to be part of that build process. This is done in ember-cli-build.js:
// ember-cli-build.js

var EmberApp = require('ember-cli/lib/broccoli/ember-app');

module.exports = function(defaults) {
  var app = new EmberApp(defaults, {
    // Add options here
  });

  // The 2 lines that you need to add!
  app.import('bower_components/sweetalert/dist/sweetalert.min.js');
  app.import('bower_components/sweetalert/dist/sweetalert.css');

  return app.toTree();
};
Again, restart the server so that Ember's build process can detect our new files.
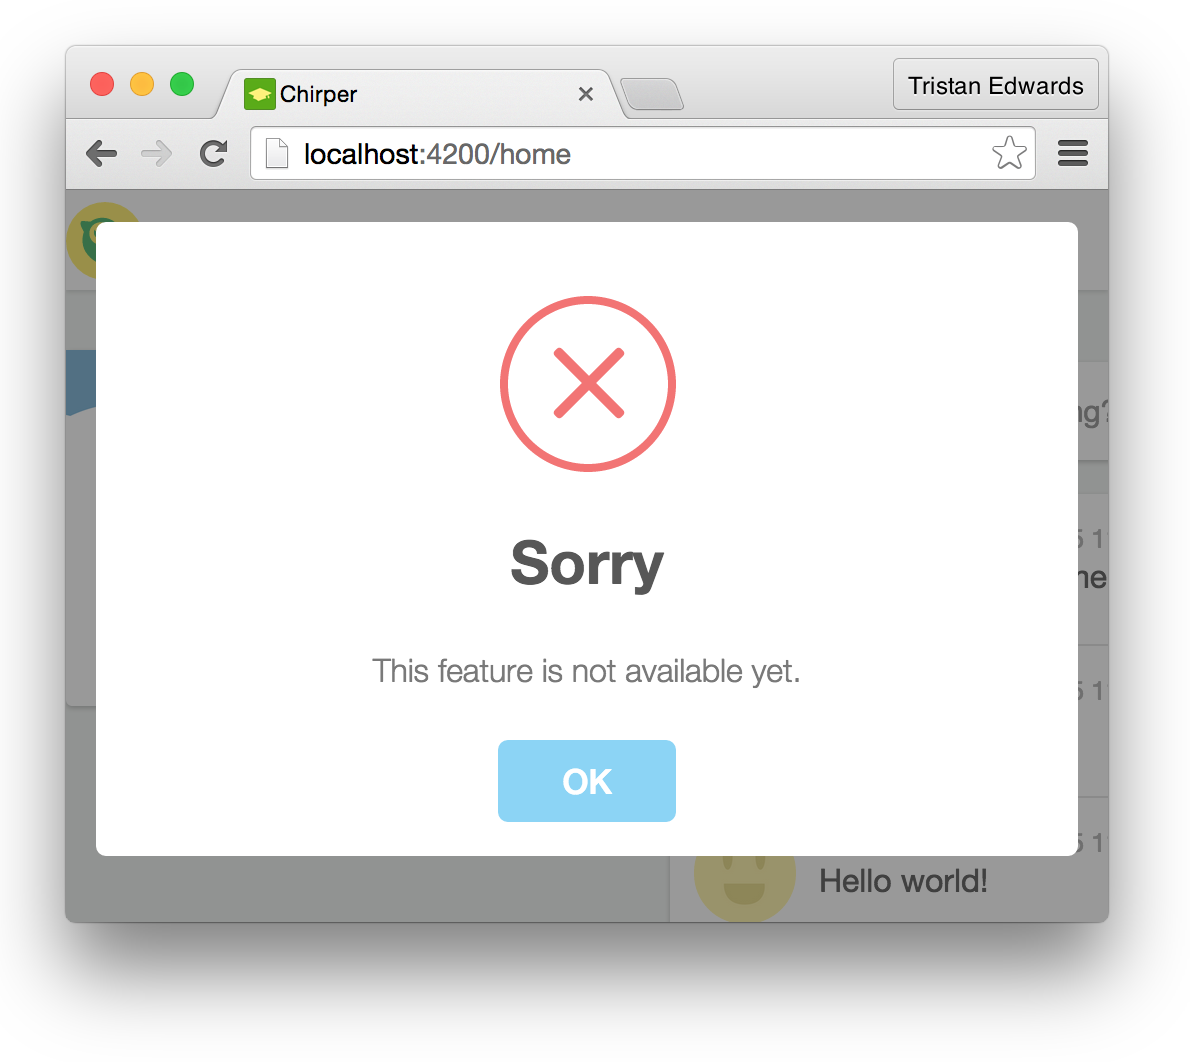
Now we should be able to use the library! The interaction we want is that when the user clicks on the "What are you doing"-button (on the "Home"-page), an alert saying that the feature isn't available yet should appear.
To do this, we'll just add a simple {{action}} to our button in the status-update component. This will trigger a certain function when the user clicks on the element:
{{! app/components/status-update/template.hbs }}

<img class="avatar" src="/images/avatar.jpg" />
<button class="card bubble" {{action 'showAlert'}}>What are you doing?</button>
All your actions must be defined inside an "actions"-object in your component file:
// app/components/status-update/component.js

import Ember from 'ember';

export default Ember.Component.extend({
  actions: {
    showAlert: function() {
      sweetAlert("Sorry", "This feature is not available yet.", "error");
    }
  }
});
If you go back to the browser and click on the button, it should work as expected.
Everything is good, except for one little thing. If you go back to your terminal and check the window that's running your Ember server in the background, you should see an error message like this:
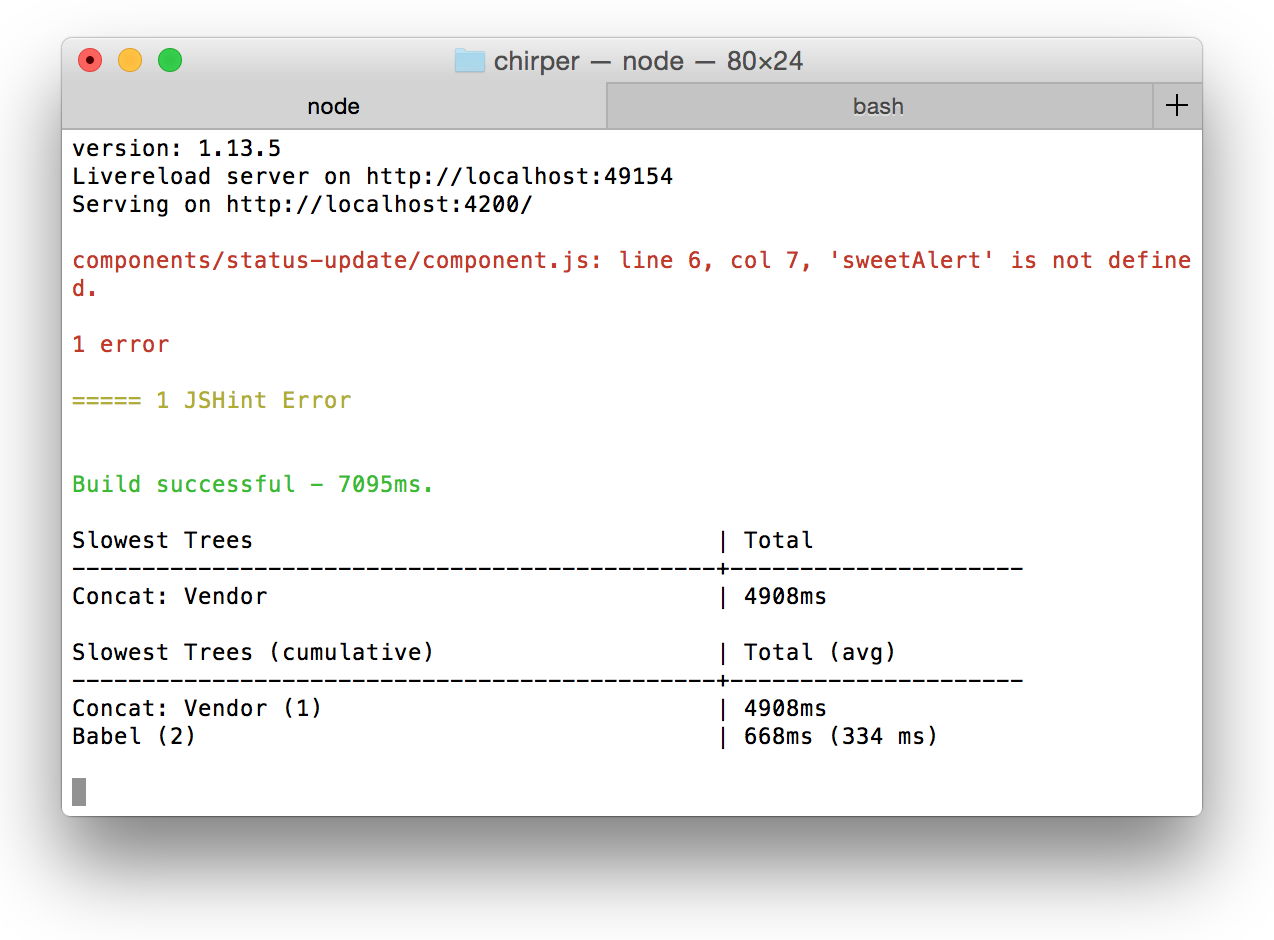
This is because SweetAlert, like many other JavaScript libraries, has added a global function (called "sweetAlert"), which ESLint doesn't know about.
To fix this we only need to add the function name in the hidden .eslintrc.js-file at the of your chirper-directory:
// .eslintrc.js

module.exports = {

  // ...

  // Add "swal" and "sweetAlert" as global functions:
  globals: {
    swal: true,
    sweetAlert: true,
  },

  // ...

};
Restart the server once more and the problem should be gone.
Now you know how to use external libraries in your Ember project. In the next lesson, we're going to work with forms.