Ember uses something called routes to decide which templates to render, what data to load, and to set up the overall application state.
The router-file (router.js) is responsible for matching up your website's URLs with your app's routes.

Let's generate our first two routes in the terminal: one for the home page, and one for the user's profile page:
ember generate route home

# We'll use the shorthand "g" ("generate") for the user route:
ember g route user
Let's open the generated templates and add some markup so that we can try them out in the browser.
{{! app/home/template.hbs }}

<h1>Home</h1>
app/user/template.hbs
<h1>My profile</h1>Alright, now go to your browser and go to localhost:4200/home and localhost:4200/user to see the results!
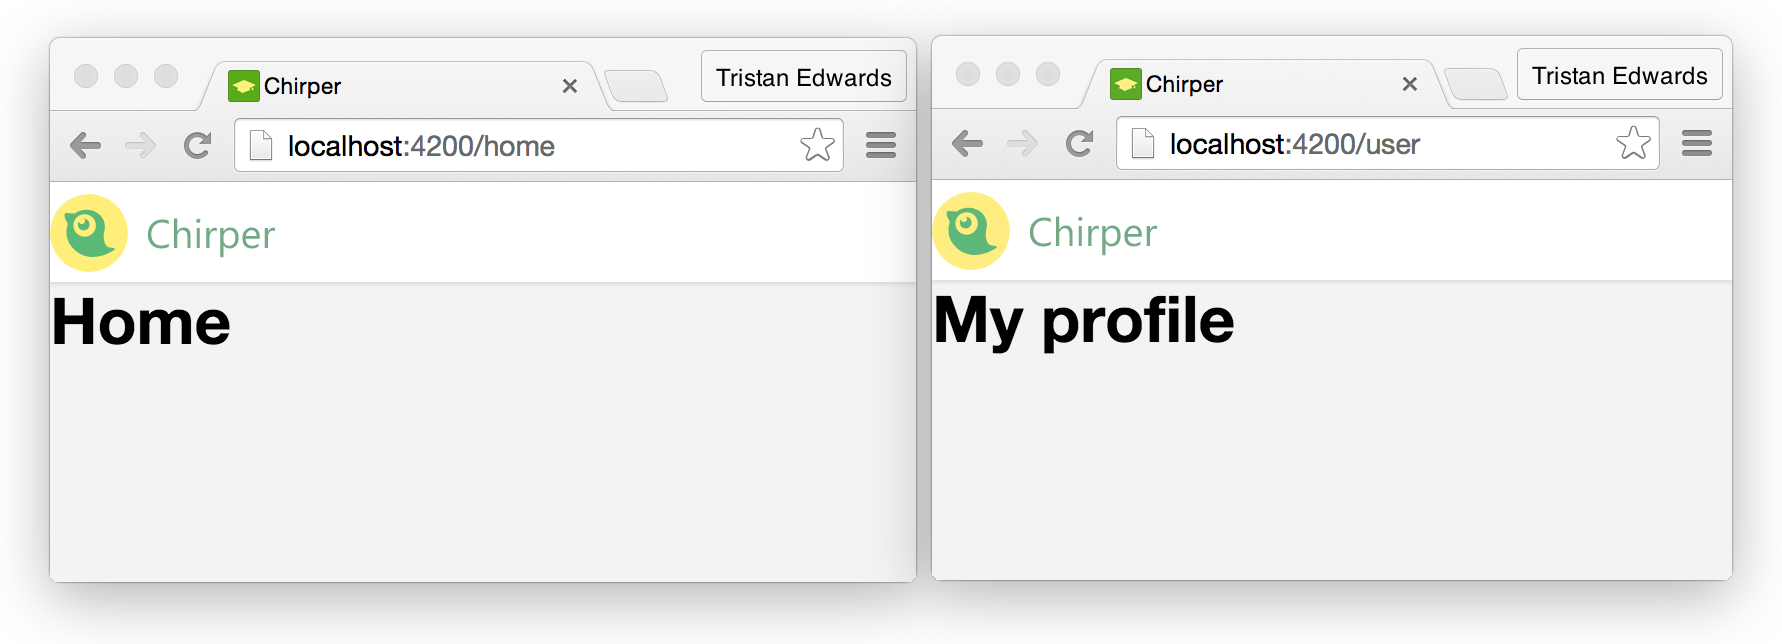
Now you can clearly see what that outlet-tag in the application-template is for!
Whenever the user visits a URL in your app, Ember will check if there is any route that matches the path name, and if there is, it will render its corresponding template in the {{outlet}} of the main application/template.hbs-file.
Alright, now we want to link to these pages from the navigation menu in the header.
 I can haz links?
To do that, we're going to replace our boring a-tags with Ember's cool {{#link-to}}-tags, so go ahead and open up application/template.hbs again. The link-to tag takes one argument with the name of the route you want to link to:
{{! application/template.hbs }}
<nav>
{{#link-to "home"}}Home{{/link-to}}
{{#link-to "user"}}
<img class="avatar" src="/images/avatar.jpg" />
t4t5
{{/link-to}}
<button class="chirp">Chirp</button>
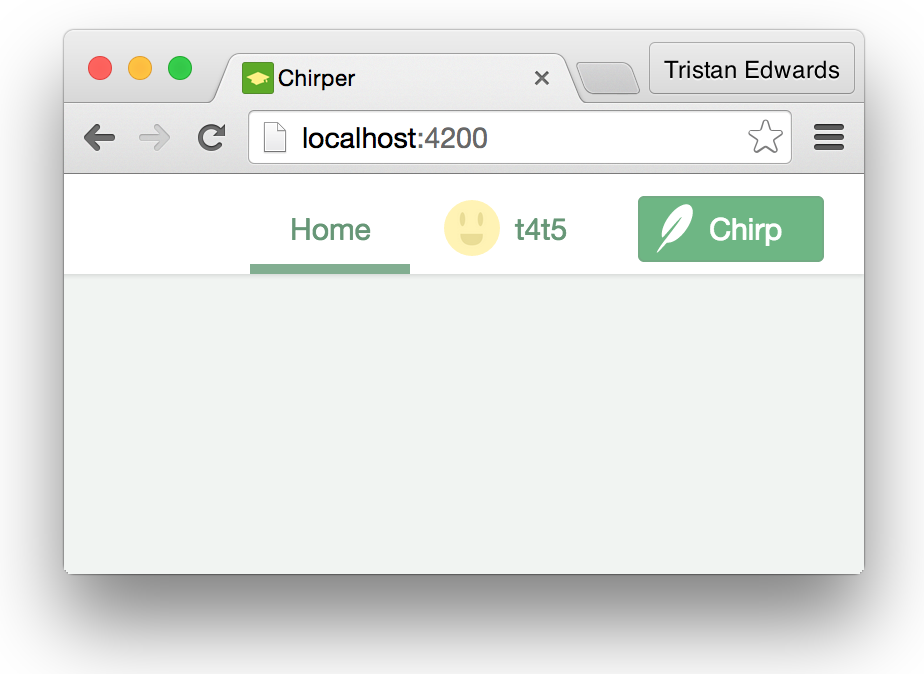
</nav>That's all! Now you can easily navigate between the two pages by clicking on the links! One important thing to note is that the page never actually refreshes when you do so, instead, Ember dynamically replaces the template on the page and uses **HTML5 History **to change the URL through pure JavaScript! This makes the page a lot snappier, and is usually something that would be pretty complicated to set up manually, but with Ember we get it for free!
The router.js-file
This is all good, but what if we want to change the URL of the user-route to be localhost:4200/profile instead of localhost:4200/user? Well, let's take a closer look at the file app/router.js which links up the URLs to our routes:
// app/router.js

import Ember from 'ember';
import config from './config/environment';

var Router = Ember.Router.extend({
  location: config.locationType
});

Router.map(function() {
  this.route('home');
  this.route('user');
});

export default Router;
The important part here is what's inside the Router.map()-function. Let's edit the line responsible for the user-route and specify the path that we want:
this.route('user', { path: 'profile' });Notice now that if you go back to the browser and click on the same link, the URL will be /profile instead of /user, even though you didn't change anything in your Handlebars-template! This is because {{#link-to}} links to a route name (not a "URL name") and dynamically determines the URL, so you change the path in your router.js-file without having to update all the links in your project. Pretty neat!
Nested routes
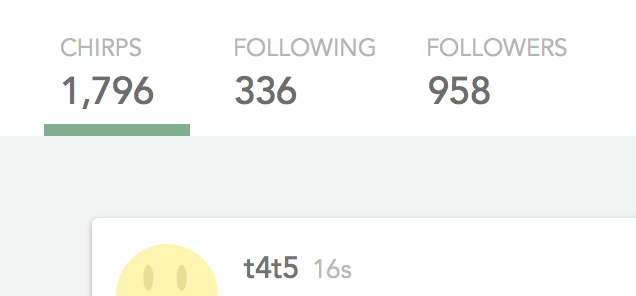
We're not entirely done with out routes yet. If you check the mockups for the profile page, you'll see that it contains 3 "sub-parts": chirps, following and followers.
 These are also links!
Wouldn't it be great if these parts had their own URLs as well? That way you could link to /user (the default) to show a user's list of chirps, /user/following to show who the user is following and /user/followers to show who the user's followers are? In Ember, this is very easy to do thanks to nested routes! Back to the terminal!
ember g route user/following
ember g route user/followers
Alright, let's open up the templates and just add a simple h2-tag so that we can see them in the browser.
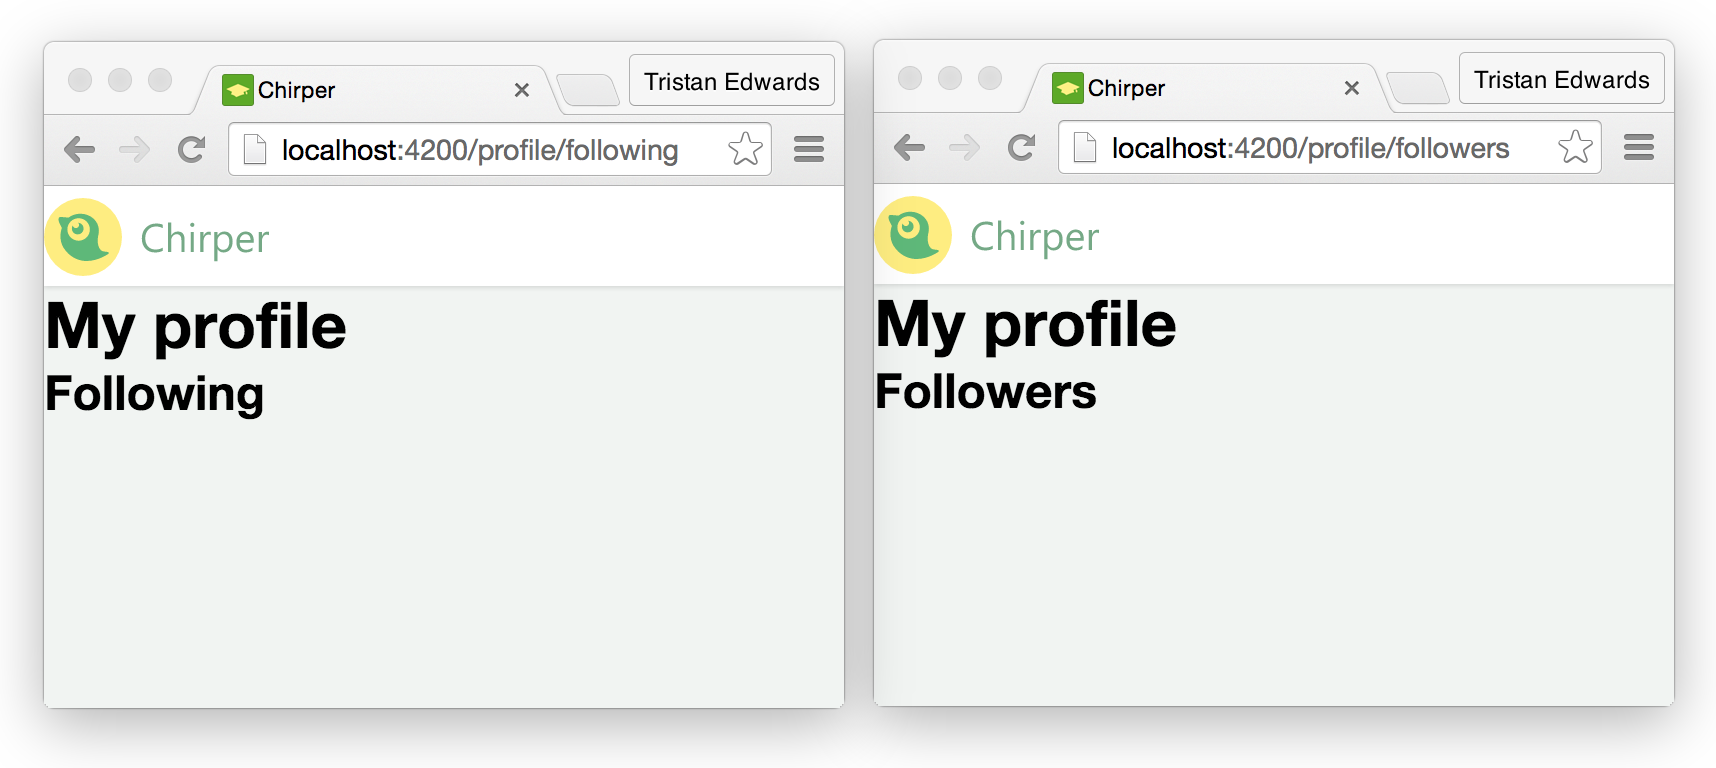
{{! app/user/following/template.hbs }}

<h2>Following</h2>
{{! app/user/followers/template.hbs }}
<h2>Followers</h2>Also, just like we did in the application/template.hbs-template, we need to add an {{outlet}} tag in the user-template if we want the sub-templates to appear inside it:
{{! app/user/template.hbs }}

<h1>My profile</h1>

{{outlet}}
Now go to localhost:4200/profile/following or localhost:4200/profile/followers and you should see the expected HTML:
Cool! Now what about our chirps? We want those to show up as a "sub-part" on our profile page too, but without adding anything extra to the URL. To do that, we can just create a nested route called index. Ember is smart enough to understand that it should be the default.
ember g route user/indexapp/user/index/template.hbs
<h2>Chirps</h2>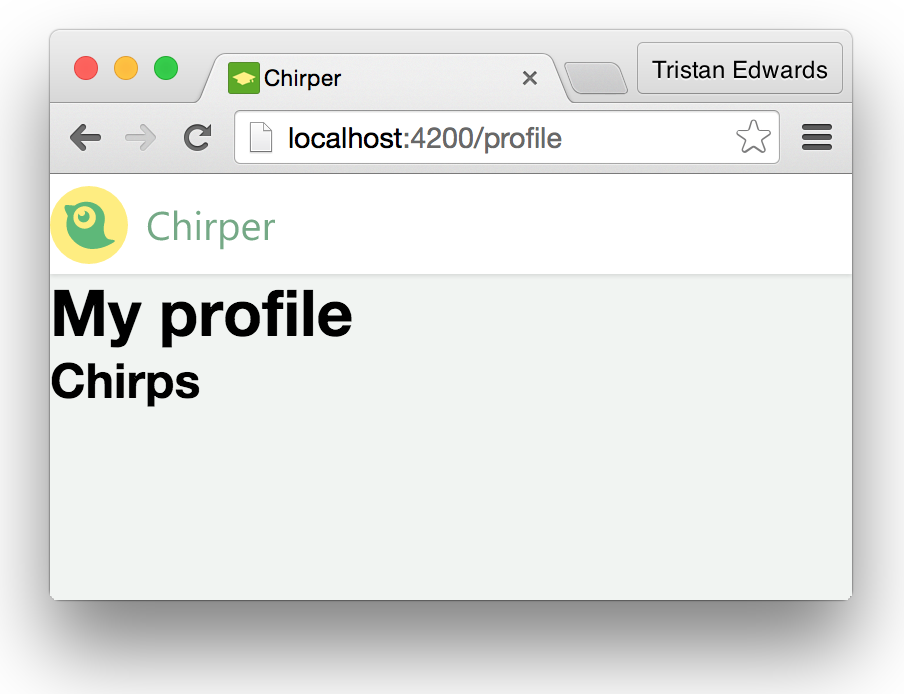 There we go!
Let's finish off by adding some links for those nested routes as well:
{{! app/user/template.hbs }}

<h1>My profile</h1>

{{#link-to "user.index"}}
  Chirps
{{/link-to}}

{{#link-to "user.following"}}
  Following
{{/link-to}}

{{#link-to "user.followers"}}
  Followers
{{/link-to}}

{{outlet}}
We now have all the basic navigation of our app settled, and you should have a pretty good understanding of how Ember's routing system works. In the next chapter, we're going to look at one of the new important cornerstones of an Ember app: components!