Liquid Fire is a library created by Edward Faulkner which makes it easy to add beautiful animations to your Ember app. It fits in very well with Ember's philosophy of adhering to certain conventions in order to gain efficiency.
-
A simple jQuery-like "slideDown"-animation for the error message that we created in the last chapter
-
Transitions between our routes
Showing and hiding things
Let's start by installing Liquid Fire. Since it's an Ember Addon, this is very easy as usual:
ember install liquid-fireDon't forget that after installing an addon, you need to restart the server so that Ember can track the changes to the file system. Next, simply open up the index-template we worked on in the previous chapter and change the if-statement into a liquid-if:
{{! app/index/template.hbs }}
{{#liquid-if errorMessage}}
<p class="error">{{errorMessage}}</p>
{{/liquid-if}}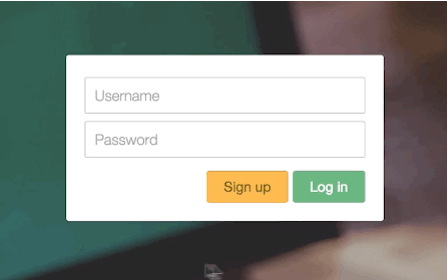 That's how easy it is to implement this animation!
Route transitions
Another awesome thing you can do with Liquid Fire is route transitions: animations between pages and subroutes.
In our app, we're going to try this out on the profile page's subroutes. Although, in my opinion, the animation doesn't quite fit this project, so we will remove it afterwards, but at least you will see how to implement it for future projects!
First, we'll change the {{outlet}} tag near the end of the template-file into a {{liquid-outlet}} in order to indicate that we want to animate between the routes that reside in this outlet.
{{! app/user/template.hbs }}

<main>
  {{liquid-outlet}} {{!-- The line to change --}}
</main>
The next step is to create a transitions.js-file in the app-folder, and in it we'll define which animations to use between our routes.
// app/transitions.js

export default function(){
  this.transition(
    this.fromRoute('user.index'),
    this.toRoute('user.following'),
    this.use('toLeft'),
    this.reverse('toRight')
  );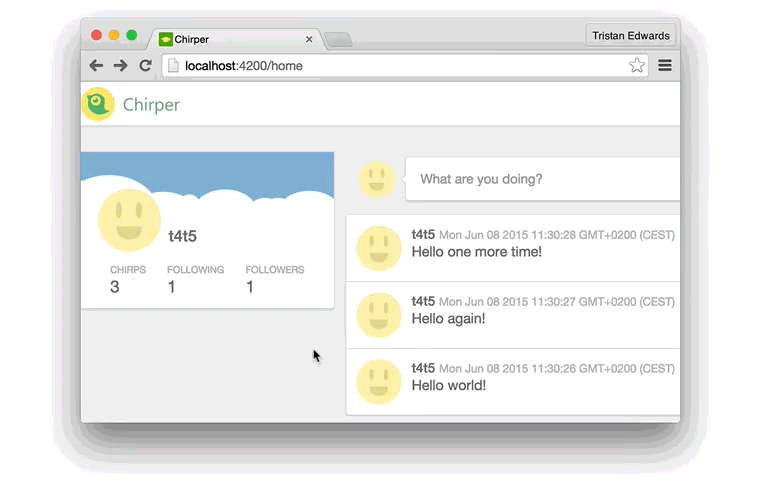
}![]() Pretty neat!
Pretty neat!
You can play around with this by adding transitions to your other routes as well if you want (don't forget to change your outlets into liquid-outlets in that case)! The Liquid Fire website contains a list of all the predefined animations that you can use.
Bonus: exploding transitions!
We saved the best for last. What if you could move an element across the page from one route to another? This would be quite a pain to implement manually in JavaScript and CSS, but once again, Liquid Fire makes this easy!
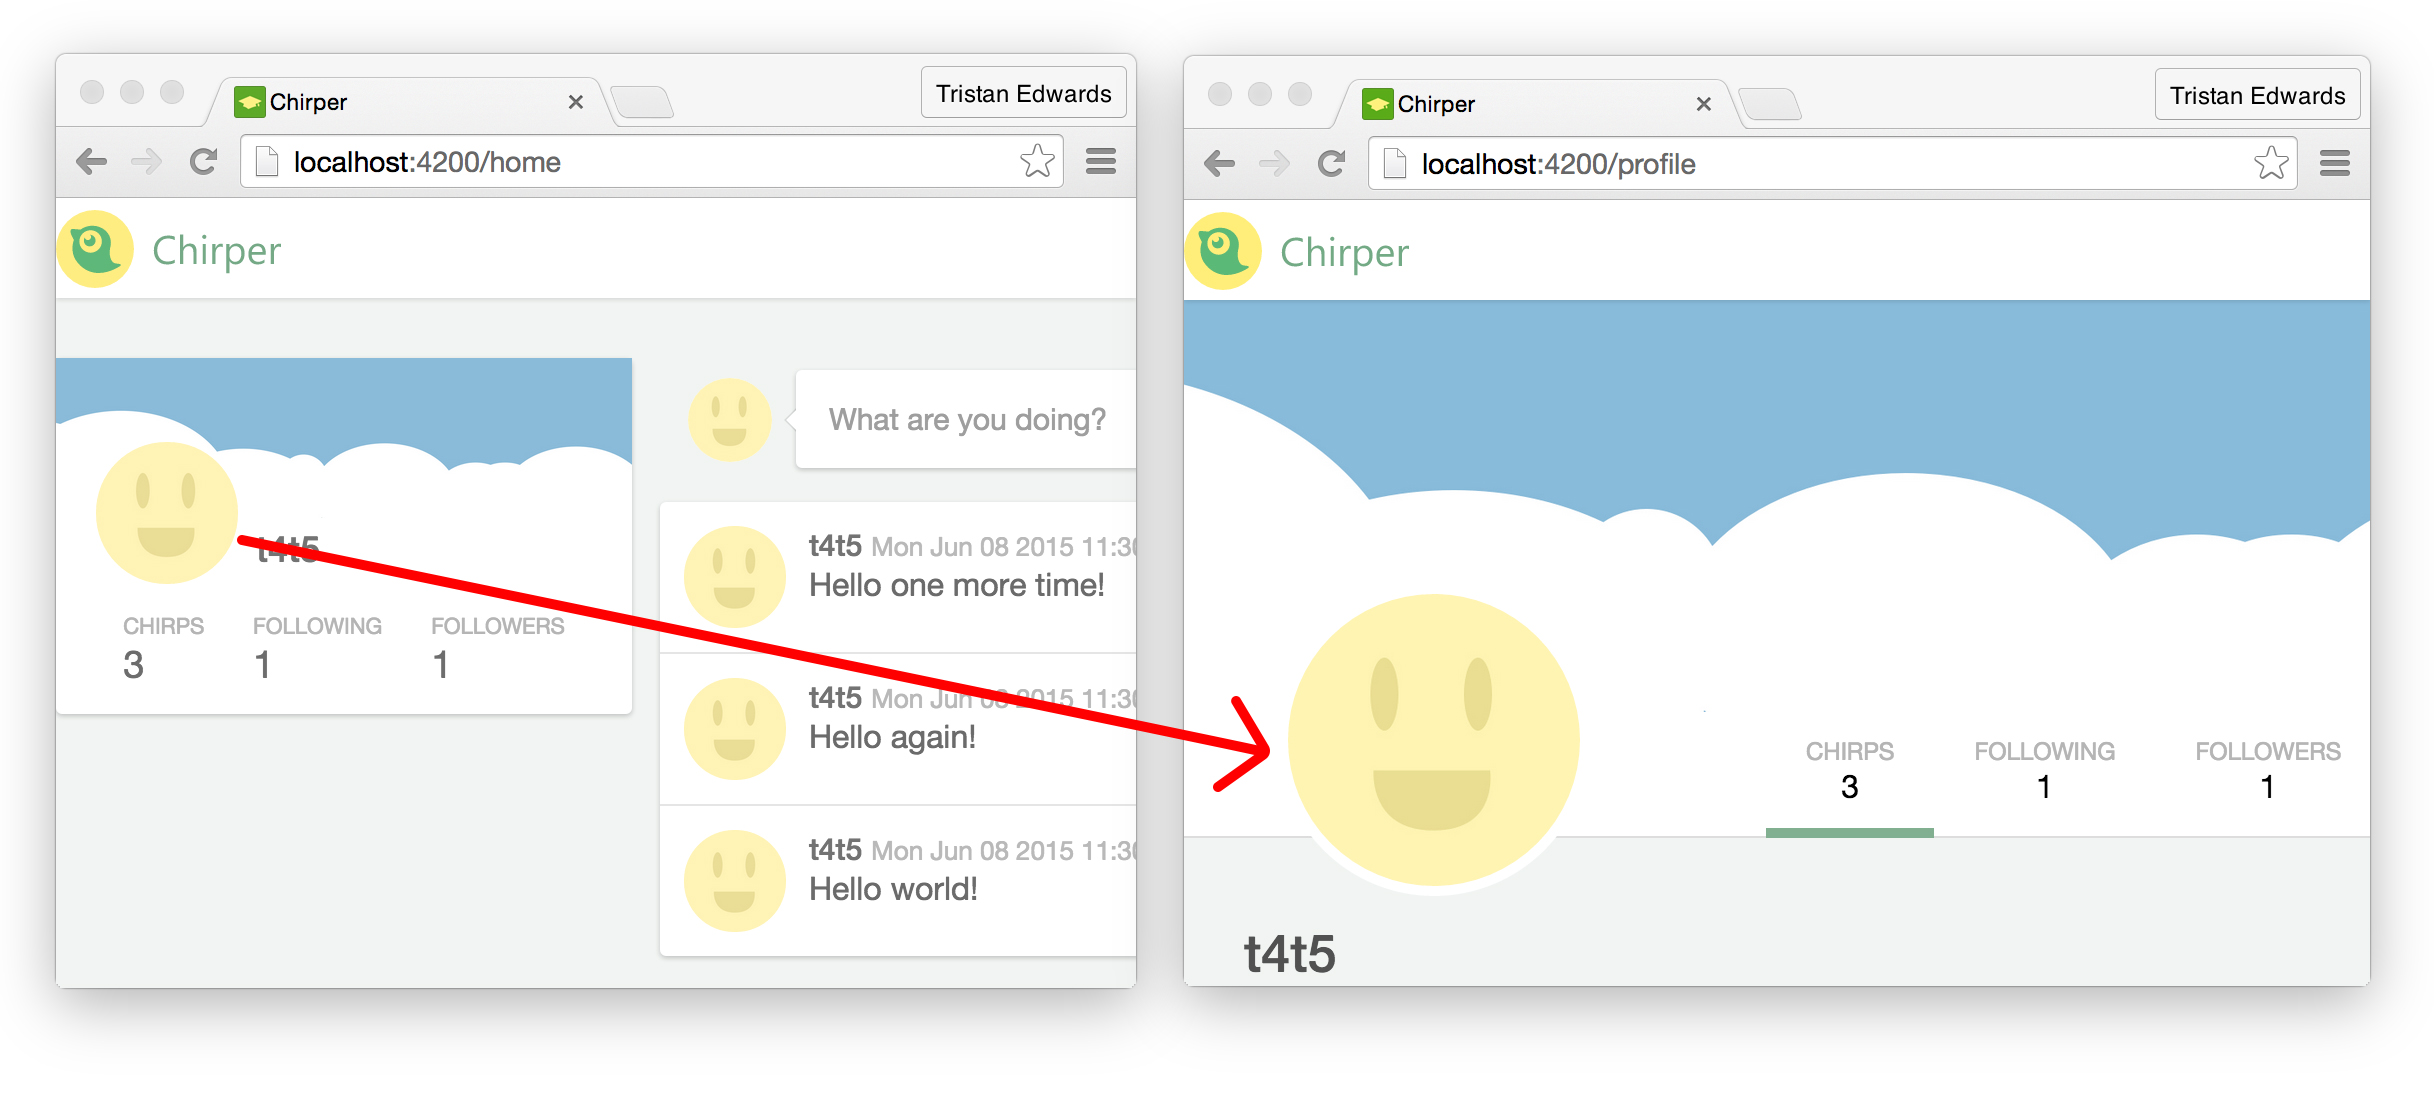 Our goal will be to animate the profile picture from the home page to become the one on the profile page!
Since this is an animation between two top-level routes, we need to turn the {{outlet}}in the application template into a {{liquid-outlet}} first:
{{! app/application/template.hbs }}

{{!-- ... --}}
</header>

{{liquid-outlet}}
After doing this, you might notice that the whole container on the home page seems to have got some extra margin on the top:
 Hmm, that's a bit ugly.
This is because {{liquid-outlet}} adds some extra elements in order to facilitate the transitions, which can sometimes screw up your layout. Keep this is mind when converting your regular outlets. In this case though, it's easily fixable: just comment out one line of CSS in the file app/styles/layout.scss:
// app/styles/layout.scss

body {
  background-color: $bg-color;
  // margin-top: $header-height; // Comment out this line!
}
Now back to the transition! Let's open up the app/transitions.js-file again and add the following animation right after the previous one:
// app/transitions.js

this.transition(
  this.fromRoute('home'),
  this.toRoute('user'),
  this.useAndReverse('explode', {
    matchBy: 'data-profile-image',
    use: 'fly-to'
  })
);
useAndReverse simply tells Liquid Fire that we want to use the same animation both from home to profile and from profile to home. What's especially new here is the matchBy-key. This will search for an HTML-element that has the same value for the attribute data-profile-image and, if it finds it both on the home page and the profile page, it will apply the fly-to animation to it during the transition!
Right now, our image elements that we want to match don't contain this attribute, so let's add it! We're going to set the value of the attribute to "me", but it could be anything as long as they both match!
{{! app/components/profile-glance/template.hbs }}

<div class="cover-photo"></div>
<img class="avatar" src="/images/avatar.jpg" data-profile-image="me"/>
{{#link-to "user"}}
  <!-- ... -->
{{! app/user/template.hbs }}
<div class="stats-container">
<div class="page-container">
<img class="avatar" src="/images/avatar.jpg" data-profile-image="me"/>
<!-- ... -->That's it! Now go back to the browser and click away!
 Isn't that awesome?!
Liquid Fire is one of those libraries that really demonstrate what you can do when you adopt a framework that emphasises the importance of conventions. Because routes and templates defined in Ember work in a certain way, it's very easy to augment their functionality with addons like this!
In the next chapter, we will focus more on functionality by creating the chirp modal that allows the user to post new chirps!