Ember Data's REST conventions
Before we go on with our app, it's important to understand that by using Ember Data, we're buying into Ember's conventions on how your REST API should behave.
In our case, the conventions are pretty much handled automatically since we're using November, but it's important to be aware of these when making changes to your data-driven app.
Let's look at the conventions you need to know about for a basic CRUD (Create, Read, Update, Delete) app. If you don't know about these already, you should learn them:
Finding records
There are 3 ways to find records: finding all, finding from a query and finding by id.
-
Find all records:
Triggered by:
store.findAll('user')Sent request:
GET /users/// Expected JSON response: { "users": [ {...} ] } -
Find a record from an id:
Triggered by:
store.findRecord('user', 1)Sent request:
GET /users/1// Expected JSON response: { "user": {...} } -
Find record(s) from a query:
Triggered by:
store.query('user', { name: 'Bob' })Sent request:
GET /users?name=Bob// Expected JSON response: { "users": [ {...} ] }
Creating records
Triggered by: store.createRecord('user', {...}).save()
Sent request: POST /users (with a request body containing a user object)
// Expected JSON response:

{
  "user": {...}
}
// Note: the server response should be nearly identical to the user object sent through the request body, except that the response also contains the *id* of the user.Updating records
Triggered by:
store.findRecord('user', 1).then((user) => {
  user.set('name', 'Alice');
  user.save();
});
Sent request: PUT /users/1 with a request body containing the updated user object
// Expected JSON response (with the updated fields)

{
  "user": {...}
}
Deleting records
Triggered by:
store.findRecord('user', 1).then((user) => {
  user.destroyRecord();
});
Sent request: DELETE /users/1
// Expected JSON response:

{} // Yes, an empty JSON object
Replacing our fixtures
Now that you have an idea of how it works, let's edit our RESTAdapter so that, instead of consuming the Mirage fixtures, it makes API calls to our November server (make sure you still have November running in the background)!
We'll start by adding the backend's domain as an environment variable in our Ember app. We use an environment variable for this because once we run our site in production, the URL won't be localhost:9000 anymore. We also specify that **we want ember-cli-mirage to be disabled **now.
// config/environment.js

module.exports = function(environment) {
  var ENV = {
    modulePrefix: 'chirper',
    environment: environment,
    rootURL: '/',
    locationType: 'auto',

    apiURL: 'http://localhost:9000', // <-- Add this line

    'ember-cli-mirage': { enabled: false },// <-- And this

 //...
Next, in our adapter-file, we import our environment variables at the top of it, then set the host to our apiURL variable (you can remove the prefix we used earlier).
// app/application/adapter.js

import config from '../config/environment';
import DS from 'ember-data';

export default DS.RESTAdapter.reopen({
  host: config.apiURL
});
You might notice now that if you go back to your Chirper app's "home"-page in the browser, the page becomes blank (uh-oh). If you bring up the JavaScript Console, you should see this error message:
 This is one of the error messages you should see.
Although it's an error, this is actually a good sign. The data that we request in our home route is no longer fetched from the fixtures, but our Ember app attempts to get it from localhost:9000 (where our November app resides) when it runs this.store.findRecord('user', 1)
As you can see, the correct request was triggered (GET /users/1), but our API returned an error. This is because we haven't yet created any user with id 1 in our MySQL database yet, so let's do that!
$ mysql

mysql> USE chirper_development;

mysql> INSERT INTO users (id, username, about_me, joined_at, updated_at) VALUES (1, 't4t5', 'I like building stuff', NOW(), NOW());
Note: You can also use a GUI tool like Sequel Pro to visualize and manipulate your database tables if raw SQL queries scare you.
While we're at it, let's also add the first chirp to our database.
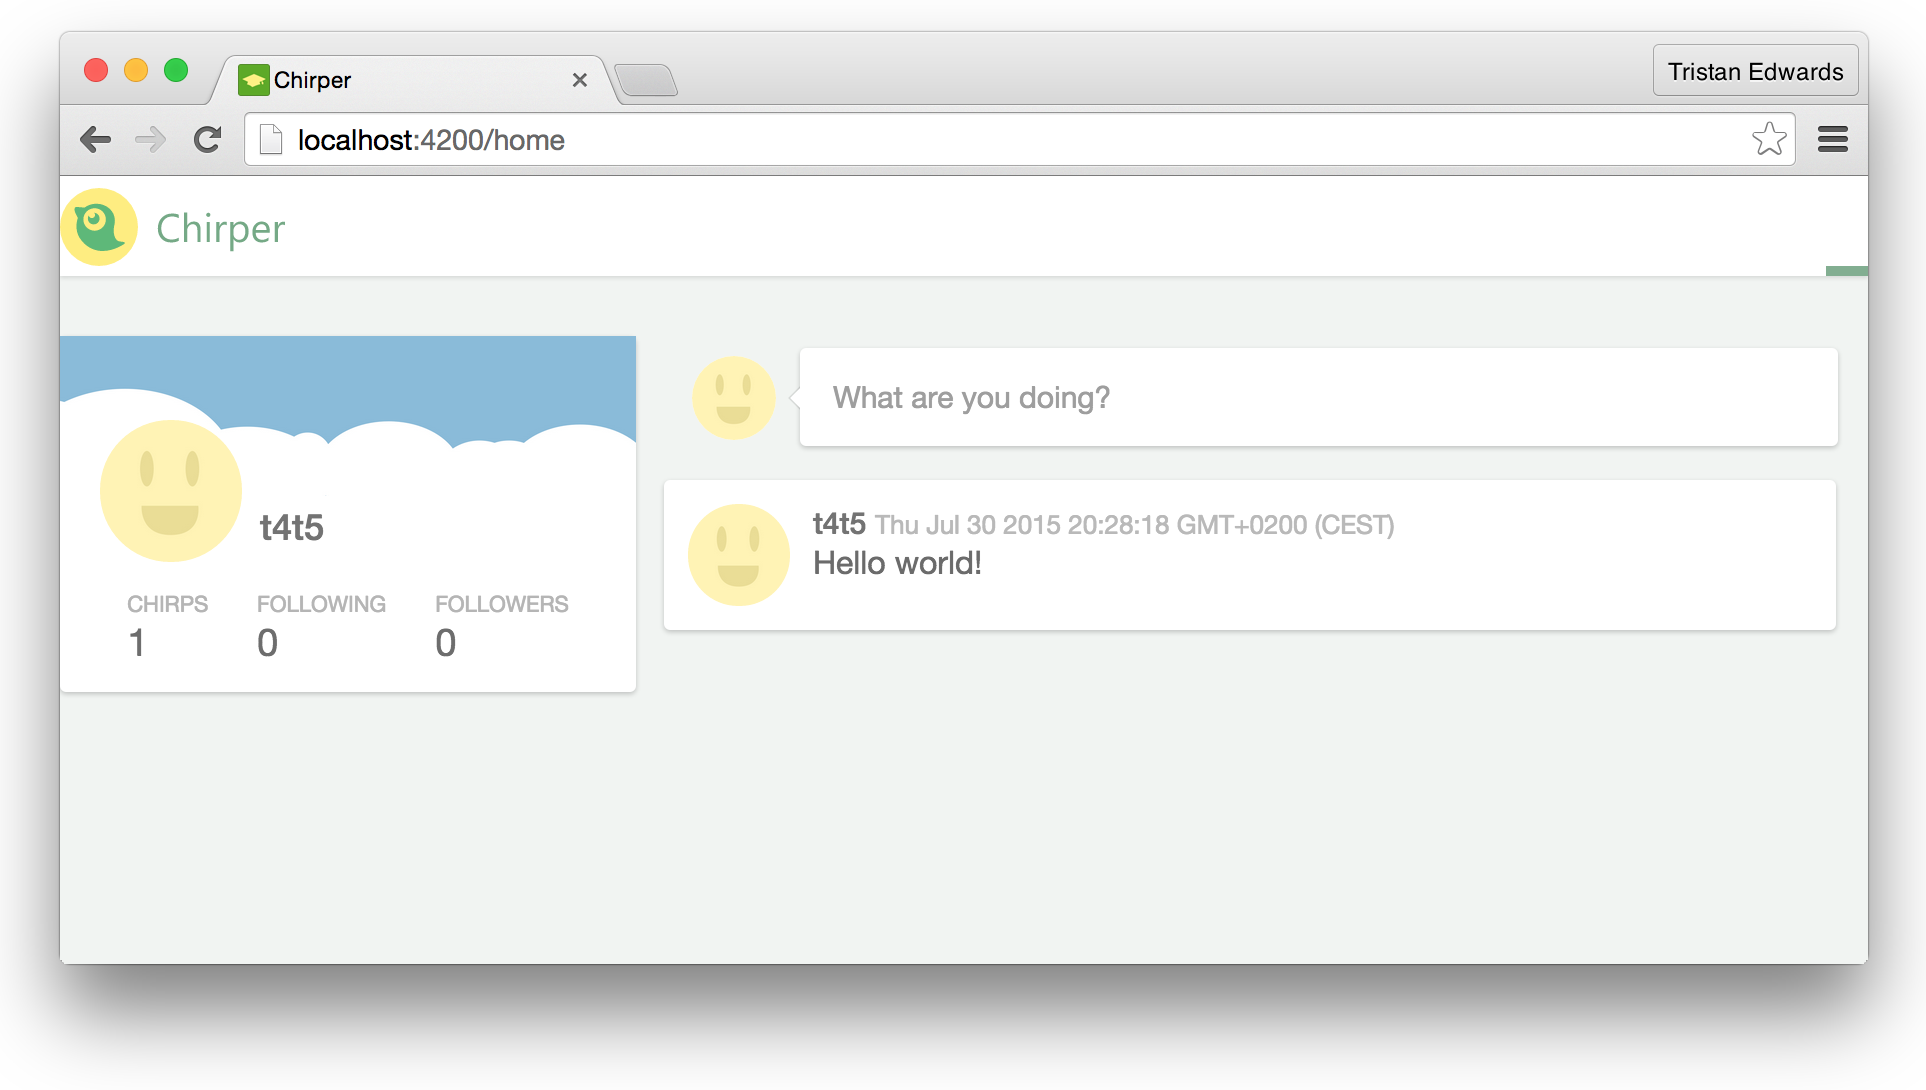
mysql> INSERT INTO chirps (text, user_id, created_at, updated_at) VALUES ('Hello world!', 1, NOW(), NOW()); Refresh the page and... it's alive!
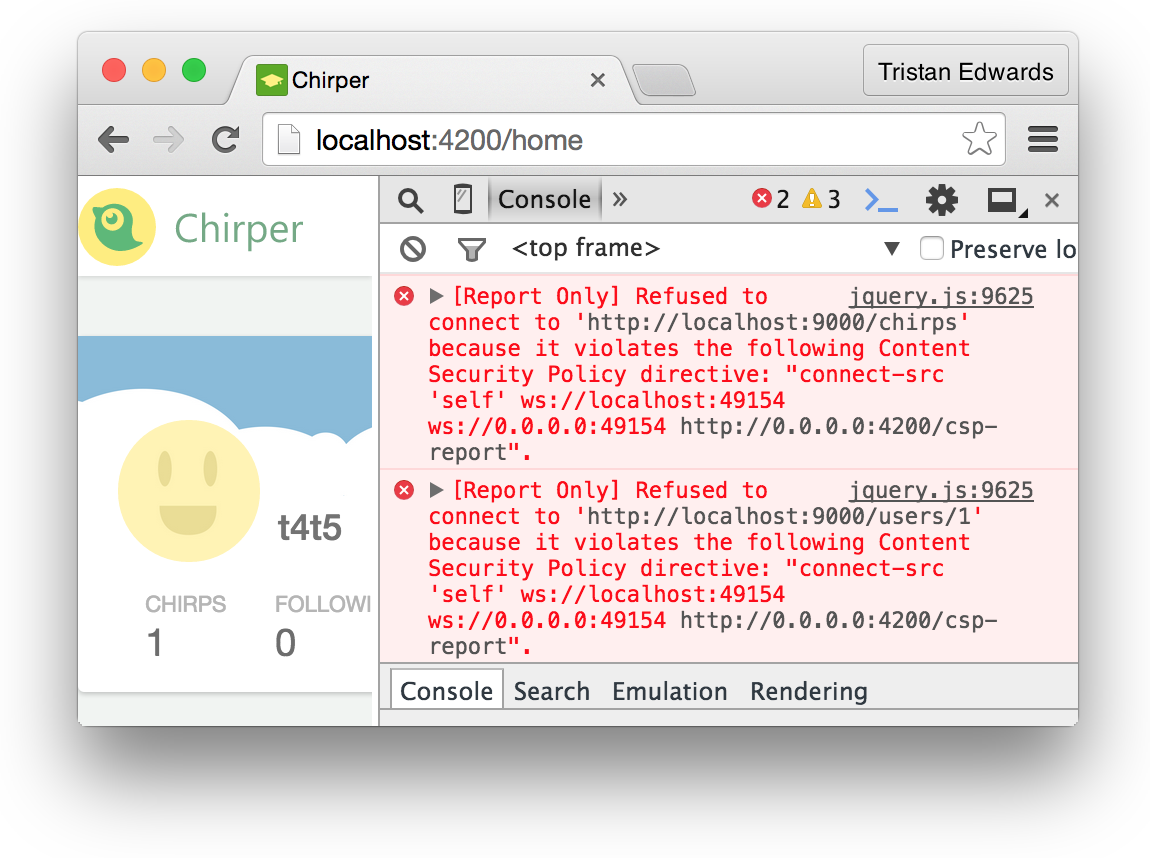
Now, there's one more error in our console that we should fix, namely the violation of the Content Security Policy:

This error might seem strange at first since our data is loading after all and everything seems to work well. This is because we're still in development mode, so the errors show up but they don't actually break the app. Nevertheless, you should consider using CSP when deploying your app though, as it protects against nasty XSS-attacks.
Anyway, let's get rid of that error by adding just 3 lines of code in our config file, where we explicitly allow the our app to make AJAX requests to localhost:9000:
// config/environment.js

module.exports = function(environment) {
  var ENV = {
    modulePrefix: 'chirper',
    environment: environment,
    rootURL: '/',
    locationType: 'auto',
    apiURL: 'http://localhost:9000',
    'ember-cli-mirage': {
      enabled: false
    },

    EmberENV: {
      FEATURES: {}
    },

    // This is what you need to add:
    contentSecurityPolicy: {
      'connect-src': "http://localhost:9000"
    },

    APP: {
 // ...
Errors be gone! And that's how easy it is to convert your app from using fixture data for prototyping, to using real data from an actual database!
You should now be able to navigate around all your pages in the app without getting any errors.
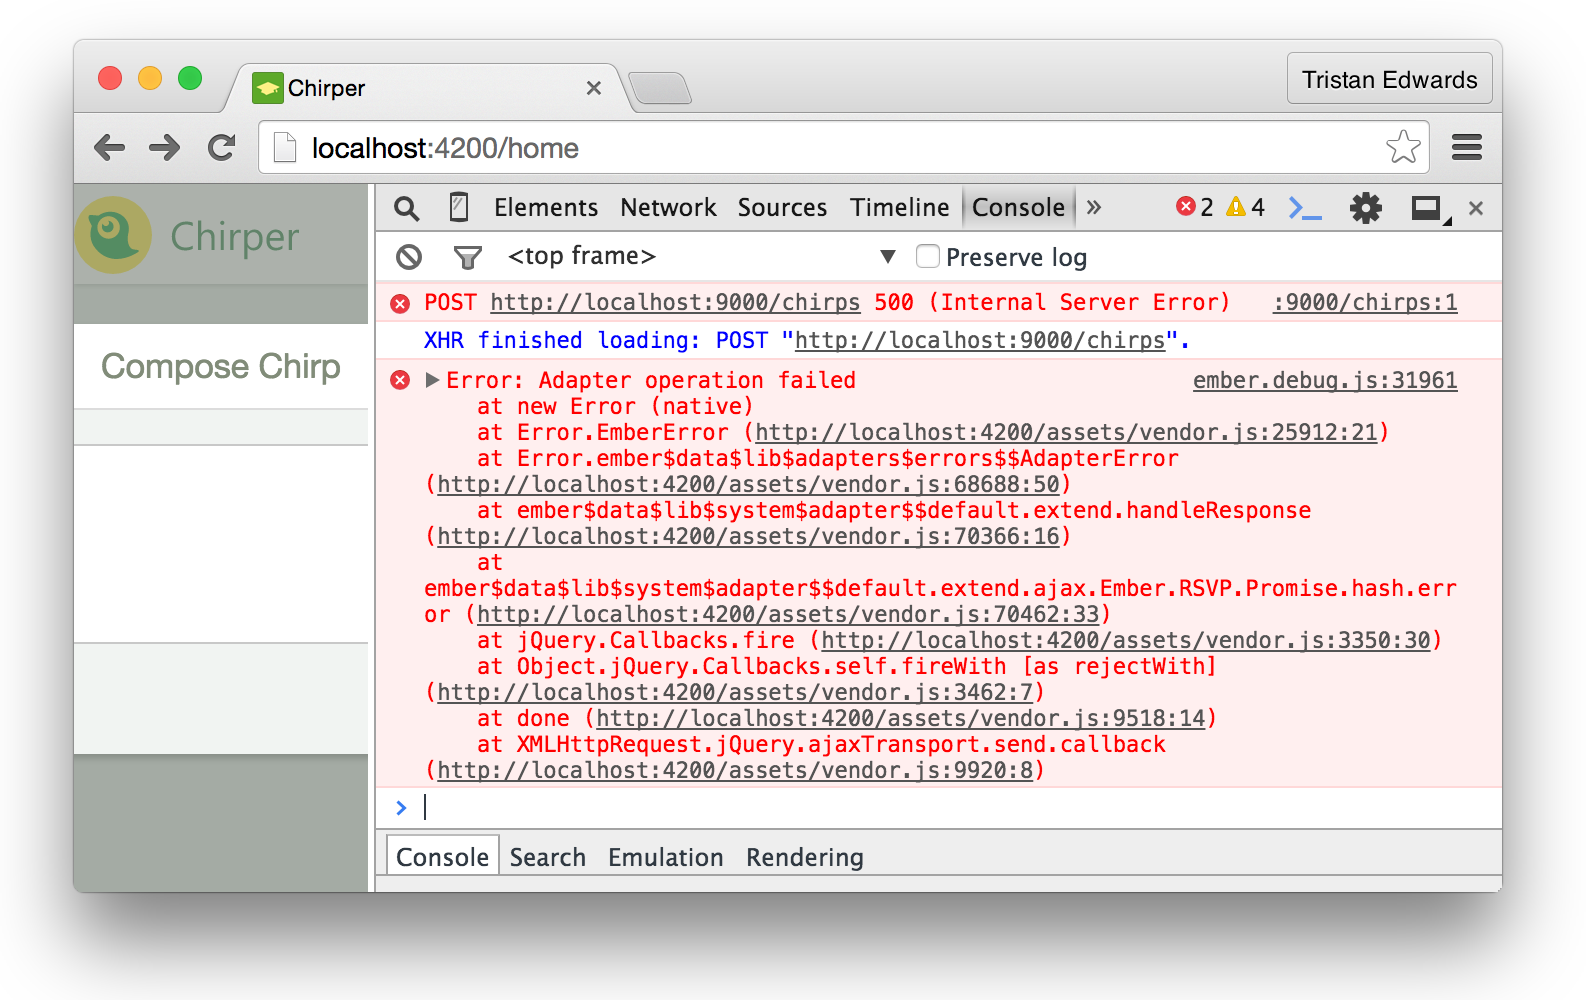
A new bug has appeared though: if you try posting a new chirp, you'll notice that the POST request returns an error and the chirp isn't saved in the database. This will be fixed in the next chapter, where we fetch the logged-in user in our November app through token authentication.
