If you've already installed everything you need to get started with Ember CLI, feel free to skip to the next chapter.
There are 6 main things you need to have installed on your computer in order to make Ember apps:
-
Node (or Node.js) is used to run a virtual server on your computer, and is also required for NPM packages.
-
NPM stands for Node Package Manager and allows you to tap into thousands of libraries written in Node and install them with a simple command.
-
Bower is a package manager very similar to NPM, but built specifically for front-end development. Lately, Bower has slowly started getting phased out in favour of NPM packages only, but many addons still require it.
-
PhantomJS is a headless browser used to run automated tests on Ember apps.
-
Watchman listens to changes in your project and automatically rebuilds the preview when needed (note that this is for macOS only).
-
And most importantly, Ember CLI -- the command-line program that helps you generate files with boilerplate code and run the Ember server.
Installing Node and NPM
To install Node, head over to the Node website and click on the "Install" button to start the download. After that, simply launch the package installer and just follow the instructions.
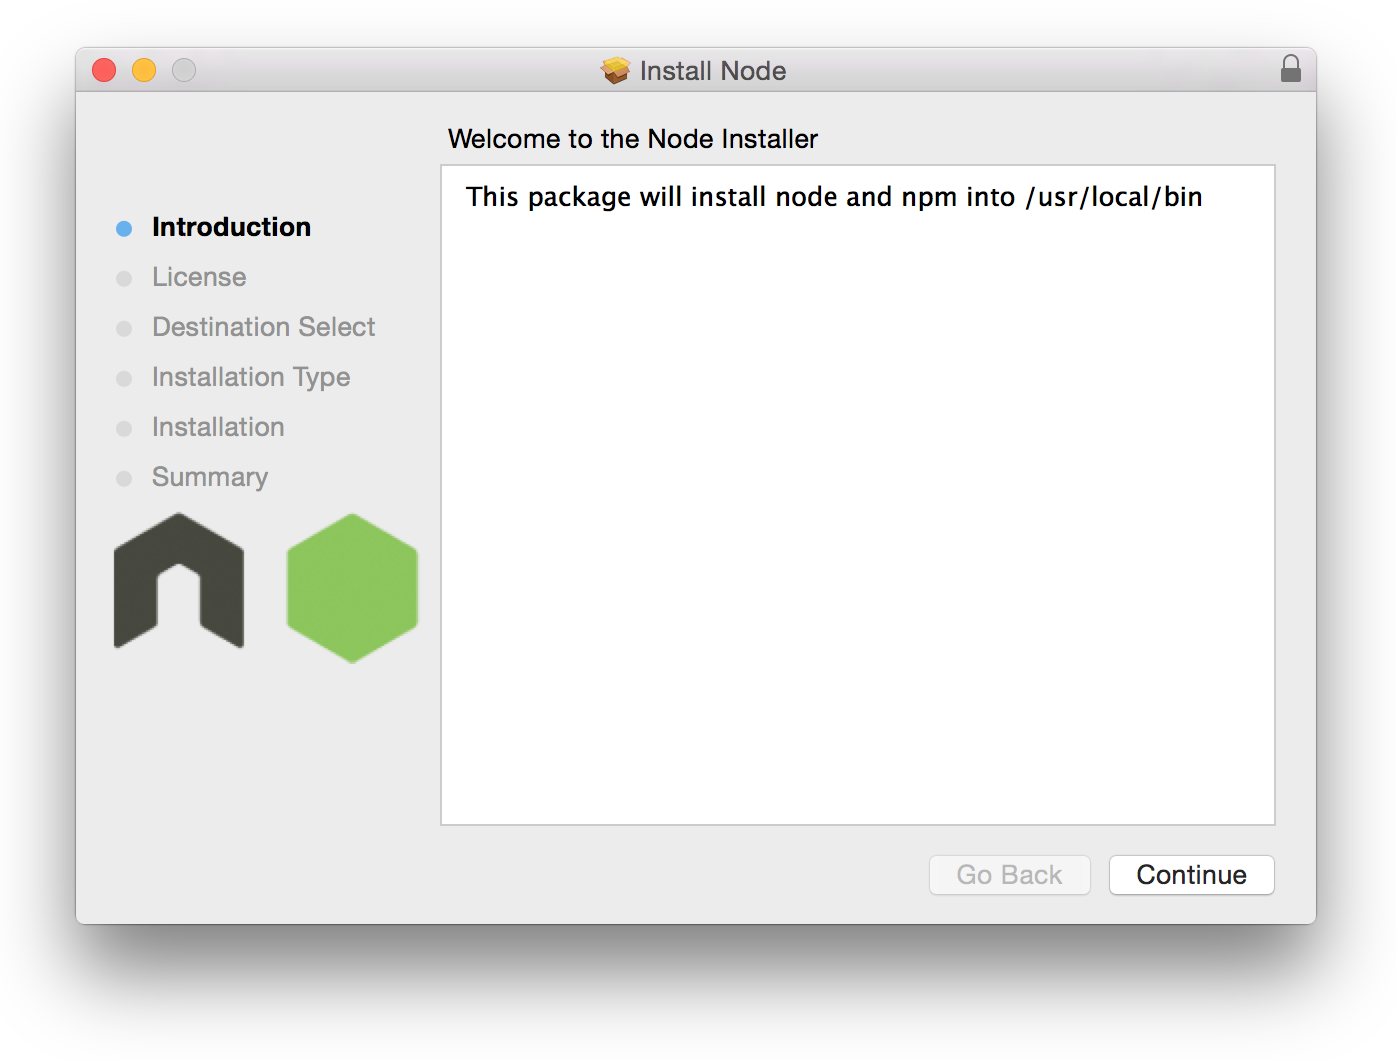 The Node installer
NPM comes bundled together with Node. To make sure you have both of them installed, open up your terminal application (located in Applications > Utilities > Terminal if you're using a Mac) and run these commands:
$ node -v
# Should return "v0.12.0" or higher
$ npm -v
# Should return "2.7.0" or higher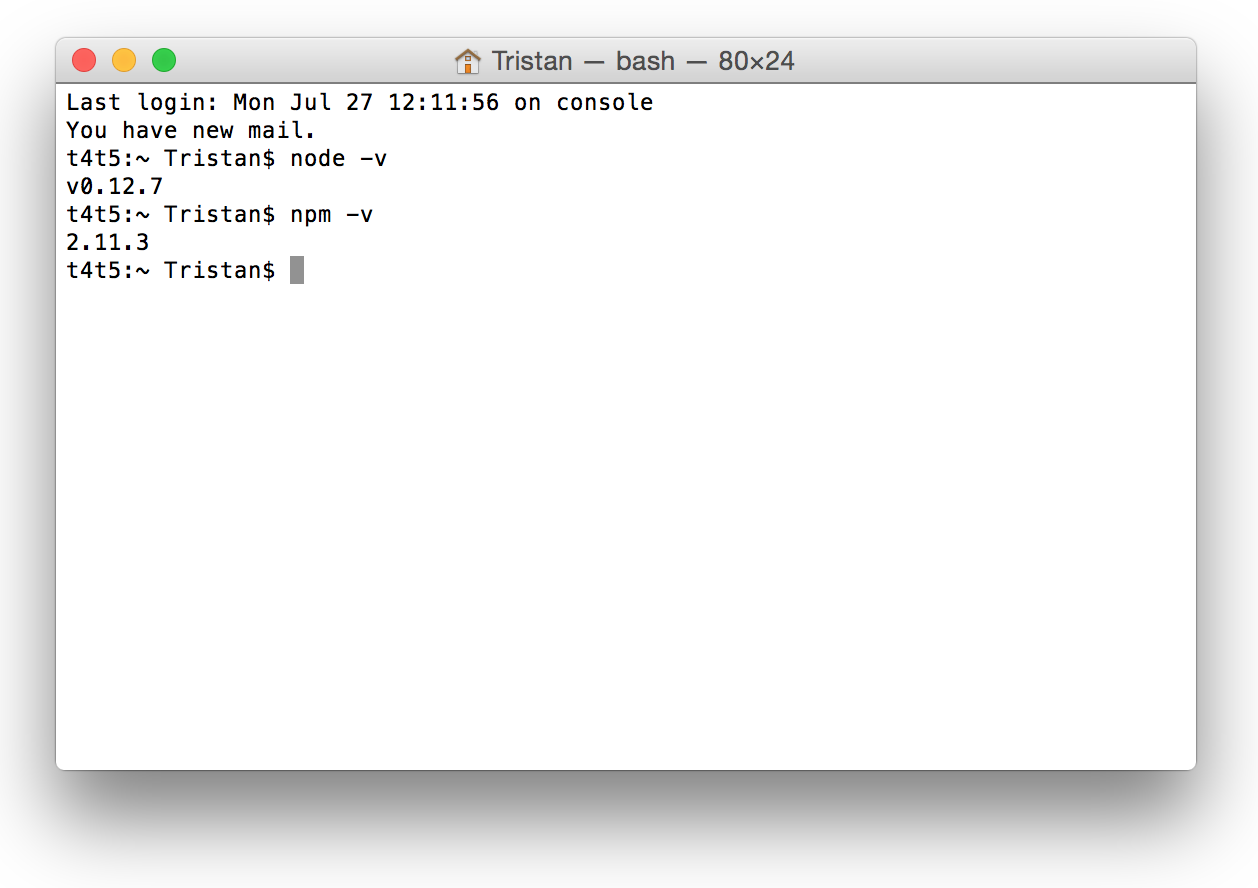 Here are my versions for this tutorial. Don't worry if your version numbers aren't exactly the same.
Installing the rest
Now that we have Node and NPM, installing the rest is easy! Again, just use the terminal:
$ npm install -g ember-cli
# This will give you access to the "ember" command

$ npm install -g bower
# This will give you access to the "bower" command

$ npm install -g phantomjs
# Now you can run integration tests for your Ember app
Installing Watchman 3
One final thing if you're using OSX, is that you should install Watchman since it's more efficient than NodeWatcher when it comes to looking for changes in your project files.
# Install Homebrew if you haven't already
$ ruby -e "$(curl -fsSL https://raw.githubusercontent.com/Homebrew/install/master/install)"

# Install Watchman
$ brew install watchman
Alright, that was the boring part, but now we're all done! In the next chapter we'll start creating our project!