Now that our app is ready, the final step is to deploy it to a server where everyone can access it!
It's worth noting that there are many ways of deploying a Phoenix application. Many have cool features such as "hot reloading", which -- when set up correctly -- gives you zero downtime when you update your app! Distillery is one such project. However, since our app is very small, and we don't have millions of users yet, we'll keep things simple and use Heroku for now!
 Heroku's welcome page
Creating your Heroku app
If you haven't already, sign up for a Heroku account (don't worry, it's free) and install the Heroku CLI on your computer.
Next, go back to your project and use the Heroku CLI to create a new Heroku app. I'm going to call mine "messengyr", but you'll have to pick something else that's unique (e.g. your-name-messengyr). We're also going to use the Elixir buildpack.
heroku create messengyr --buildpack "https://github.com/HashNuke/heroku-buildpack-elixir.git"We're also going to need the Phoenix static buildpack to compile all our static assets. We'll use a special version for Phoenix 1.3 until this pull request gets merged into the official repo.
heroku buildpacks:add https://github.com/vircung/heroku-buildpack-phoenix-static#masterFinally, we're also going to need a Postgres database for our app, so we need to install that as an addon:
heroku addons:create heroku-postgresql:hobby-devConfiguring your app's settings
Before we deploy our app, we need to make sure that we're using the right **production settings **so that they're compatible with the Heroku environment.
In our config folder, we have a file called prod.secret.exs which is supposed to contain our production database settings for example. This is obviously very secret information (anyone who has it could edit the production database data), which is why the file isn't used in Git (it's in .gitignore). This poses a bit of a problem for Heroku however, since apps are always deployed with Git. To get around this, we will instead use environment variables to connect to our database!
Open the file config/prod.exs and comment out the last line which says import_config "prod.secret.exs". We won't need it anymore, since we don't be using that file.
If you run heroku config in your project, you should see the DATABASE_URL environment variable:
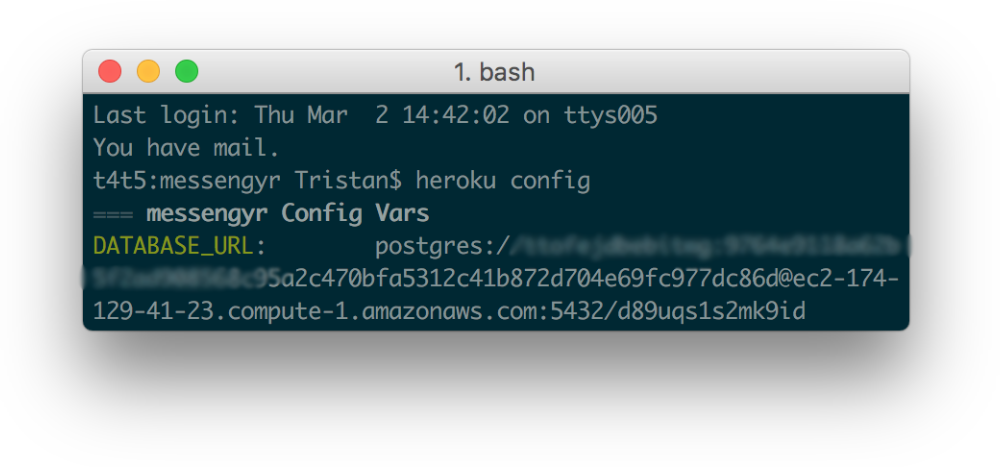
That's the database that we want to connect to in production! To use it, we edit config/prod.exs, and add a simple database configuration where we specify that we want to fetch the environment variable DATABASE_URL as the database's url:
# config/prod.exs

use Mix.Config

# ...

# Configure your database
config :messengyr, Messengyr.Repo,
  adapter: Ecto.Adapters.Postgres,
  url: System.get_env("DATABASE_URL"),
  pool_size: 20,
  ssl: true

# ...
We also have 2 secret keys that we need to generate: the secret key base (which will be used to sign all our cookies) and Guardian's secret key (which we simply set to "secret_key" in our development environment, as you might remember). We can easily generate these using mix phx.gen.secret. We then want to store the tokens under the keys SECRETE_KEY_BASE and GUARDIAN_SECRET_KEY:
$ mix phx.gen.secret
ymjCdiUv6KazZtkWvRMof+FJ8MimeiNj0Az/kdiZLd8nW3edd9AoL5elinEpAXfT

$ heroku config:set SECRET_KEY_BASE=ymjCdiUv6KazZtkWvRMof+FJ8MimeiNj0Az/kdiZLd8nW3edd9AoL5elinEpAXfT

$ mix phx.gen.secret
ceaGOzTxqpa0LcTWicqefLf9oMrwXBETcWqy1+N/a5FlvkHfoJpybR8x1XY92BO/

$ heroku config:set GUARDIAN_SECRET_KEY=ceaGOzTxqpa0LcTWicqefLf9oMrwXBETcWqy1+N/a5FlvkHfoJpybR8x1XY92BO/
Finally, we want to use these new environment variables in our configuration. We're also going to specify the URL of our app (which should be your-app-name.herokuapp.com), and make sure that we force SSL by using a rewrite engine and setting the port to 443443. Your final configuration file should look like this:
# config/prod.exs

use Mix.Config

config :messengyr, Messengyr.Endpoint,
  http: [port: {:system, "PORT"}],
  root: ".",
  server: true,
  # Make sure your change the URL to your app's URL:
  url: [scheme: "https", host: "YOUR-APP-NAME.herokuapp.com", port: 443],
  force_ssl: [rewrite_on: [:x_forwarded_proto]],
  cache_static_manifest: "priv/static/manifest.json",
  secret_key_base: System.get_env("SECRET_KEY_BASE")

config :logger, level: :info

config :messengyr, Messengyr.Repo,
  adapter: Ecto.Adapters.Postgres,
  url: System.get_env("DATABASE_URL"),
  pool_size: 20,
  ssl: true

config :messengyr, Messengyr.Auth.Guardian,
  secret_key: System.get_env("GUARDIAN_SECRET_KEY")

config :phoenix, :serve_endpoints, true
Git push!
We're now ready to deploy! If you haven't already created a Git repository for your app, you can do it with git init. Next, run the following commands to add all your changes to a new commit and deploy to Heroku:
git add .

git commit -m "Deploy to Heroku"

git push heroku master
It might take a little while to deploy your app, but hopefully you'll be created by this message in the end:
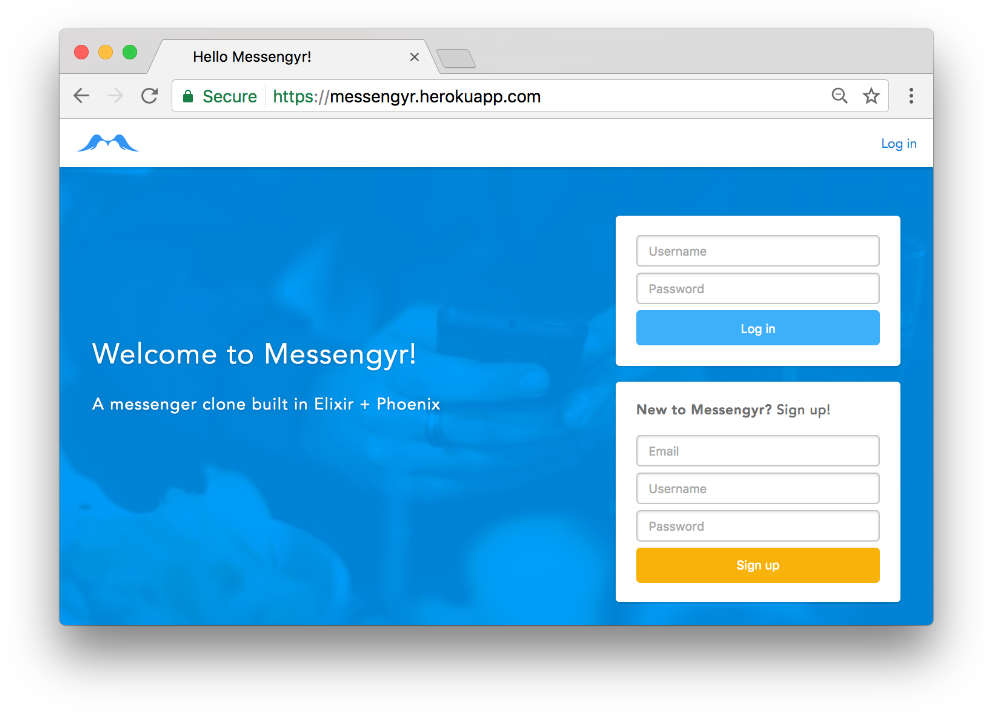
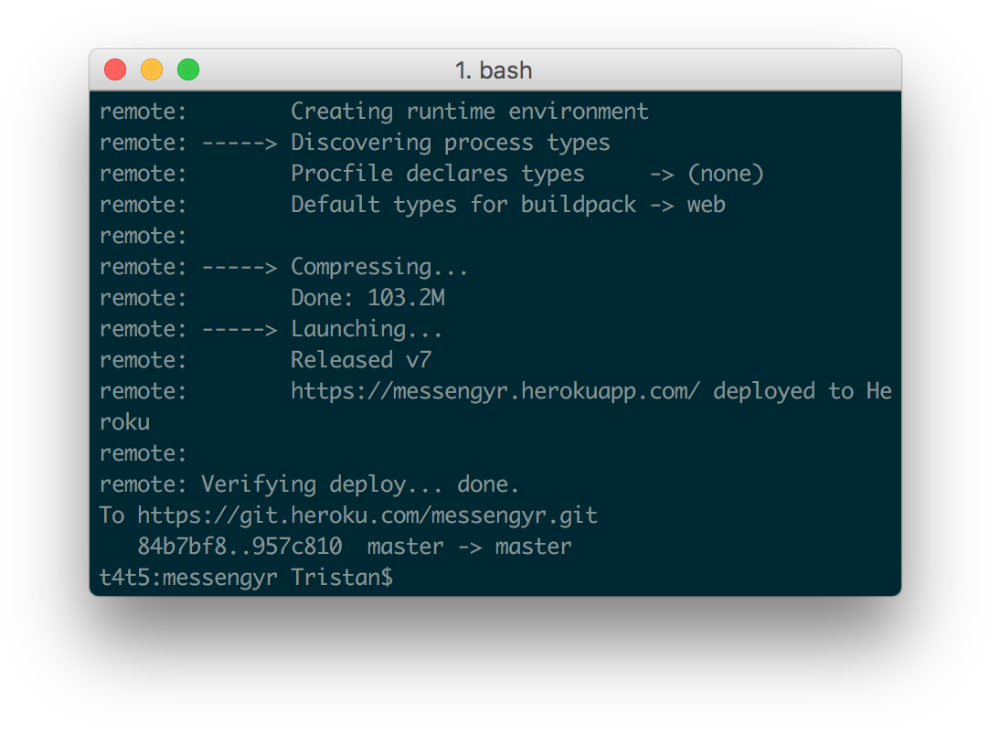 Woohoo!
Before checking out the results, remember that we also need to **run all our database migrations **on our Heroku app, so that the tables that we need are created!
heroku run mix ecto.migrateNow you can run heroku open and enjoy the well-earned result of your hard work!