Writing simple smart contracts in Remix is fine, but for more serious projects, you'll want to have a full Ethereum environment set up on your computer. Let's install everything we need for that.
Node & NPM
If you come from a web development background, you're probably already familiar with the Node.js ecosystem. The Node environment and its package manager NPM will allow you to download everything else that's related to Ethereum.
If you're not sure whether or not you have Node and NPM installed on your computer, try typing node -v or npm -v in your terminal.
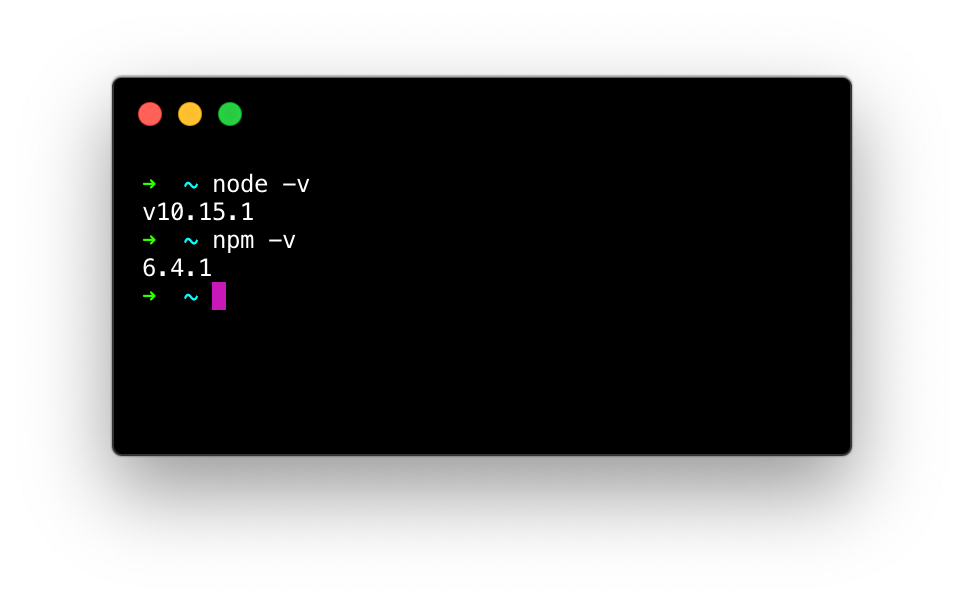 Don't worry if your version numbers differ a bit from mine.
If you don't see version numbers at all, then you need to install Node. If you're on a Mac, I recommend using homebrew and run the following command (if you're using another OS on the other hand, just follow the instructions on the official website).
brew install nodeWe're going to use Node.js quite extensively while developing in Ethereum so if your JavaScript skills are a bit rusty, I suggest you pause to get a quick refresher.
Get a blockchain client
To communicate with the Ethereum blockchain, you will need to install a client that can connect to it. There are many choices out there written in different languages, but Gethis generally considered to be the official, best-maintained implementation.
However, while developing, it would be wasteful to download the entire Ethereum blockchain and then be forced to pay real money (ether) to interact with our smart contracts. That's why we'll instead use a blockchain simulator client, called Ganache CLI (some older tutorials might use TestRPC). You can think of it as similar to a localhost server, it's a private blockchain that only runs on your computer.
Run the following command to install Ganache CLI globally on your computer:
npm install -g ganache-cliOnce it's installed, you can check if it works by simply running the global ganache-cli command in a new terminal window:
ganache-cli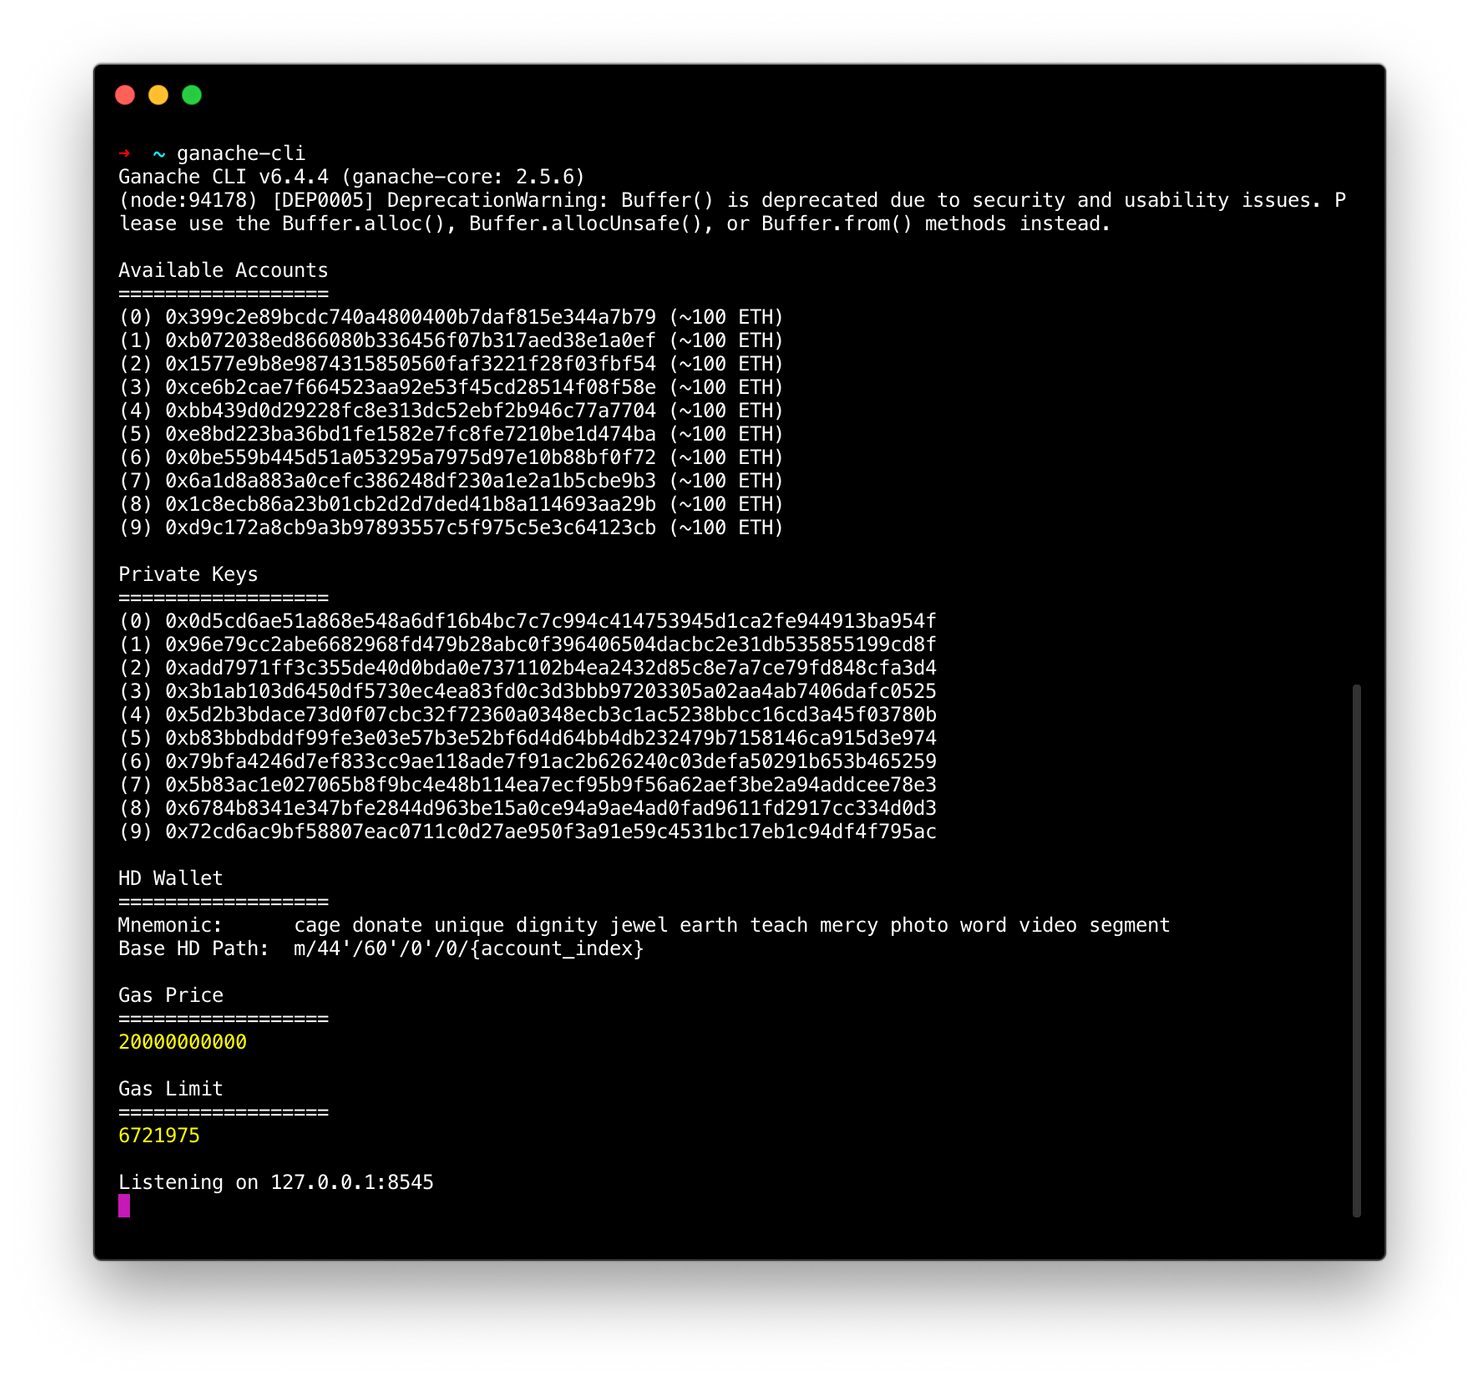
If you see something similar to the above screenshot, congratulations! You are now running a local Ethereum node with some (fake) wallets that you can send money from. We'll see how it works in more detail soon. For now, just keep this terminal window open in the background.
Creating your project
We're now going to re-create the "HelloWorld" project from last chapter in a local environment. Go ahead and create a new folder called hello-solidity anywhere on your computer, navigate to that folder in your terminal and initialise a new NPM project from it:
mkdir hello-solidity
cd hello-solidity
npm init
NPM will guide you through a list of configurations. You can just keep pressing enter until it's done.
Inside the hello-solidity folder, create a new file called HelloWorld.sol and open it in your favourite text editor.
To make it easier to read, I strongly recommend using a syntax highlighter plugin for Solidity. There are some great ones for Atom, Sublime Text and Vim for example.
In case you had forgotten, this is what should go into your Solidity file (the same code that we wrote in the last chapter):
// HelloWorld.sol

pragma solidity ^0.5.10;

contract HelloWorld {
  string myName = "Tristan";

  // Add this function:
  function getMyName() public view returns(string memory) {
    return myName;
  }

  function changeMyName(string memory _newName) public {
    myName = _newName;
  }
}
Next, we're going to create an index.js file in the same folder, which is where we'll write all of our Node.js code.
Compiling our Solidity program
In our index.js file, we want to start by just importing the HelloWorld.sol code and compile it. For that we're going to need a Node-based Solidity compiler called solc.
To install solc for your project, run the following NPM command in the same folder:
npm install solc --saveOnce it's done installing, you can start coding your index.js file:
// index.js

const fs = require('fs'); // Built-in dependency for file streaming.
const solc = require('solc'); // Our Solidity compiler

const content = fs.readFileSync('HelloWorld.sol', 'utf-8'); // Read the file...

// Format the input for solc compiler:
const input = {
  language: 'Solidity',
  sources: {
    'HelloWorld.sol' : {
      content, // The imported content
    }
  },
  settings: {
    outputSelection: {
      '*': {
        '*': ['*']
      }
    }
  }
};

const output = JSON.parse(solc.compile(JSON.stringify(input)));

console.log(output); // Log the result
Now go back to the terminal and run node index.js to see the result!
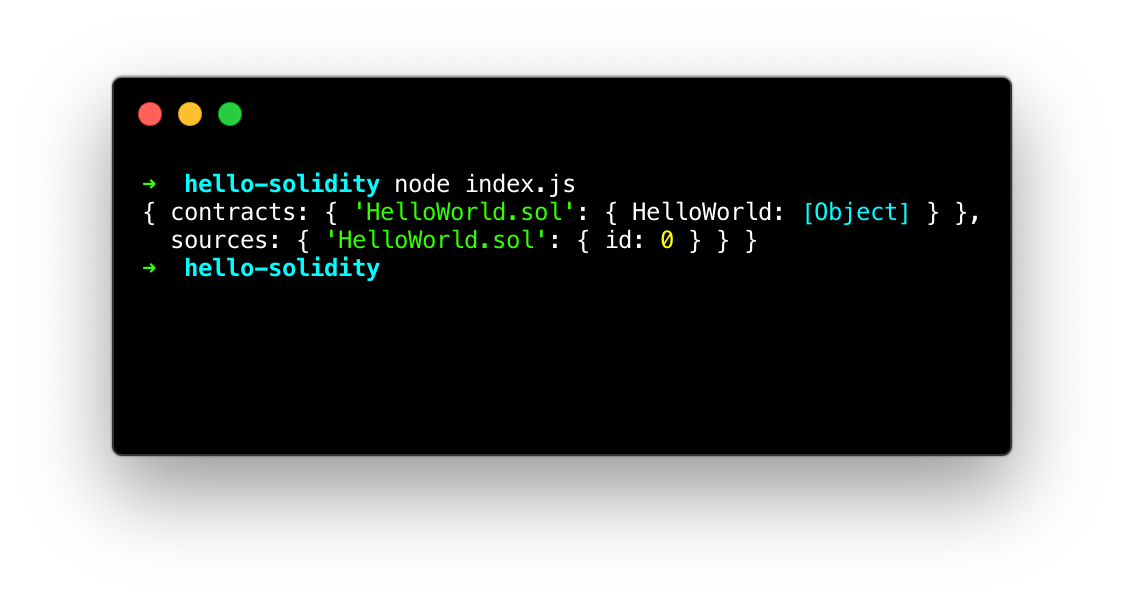 What the compiler output looks like.
Install web3
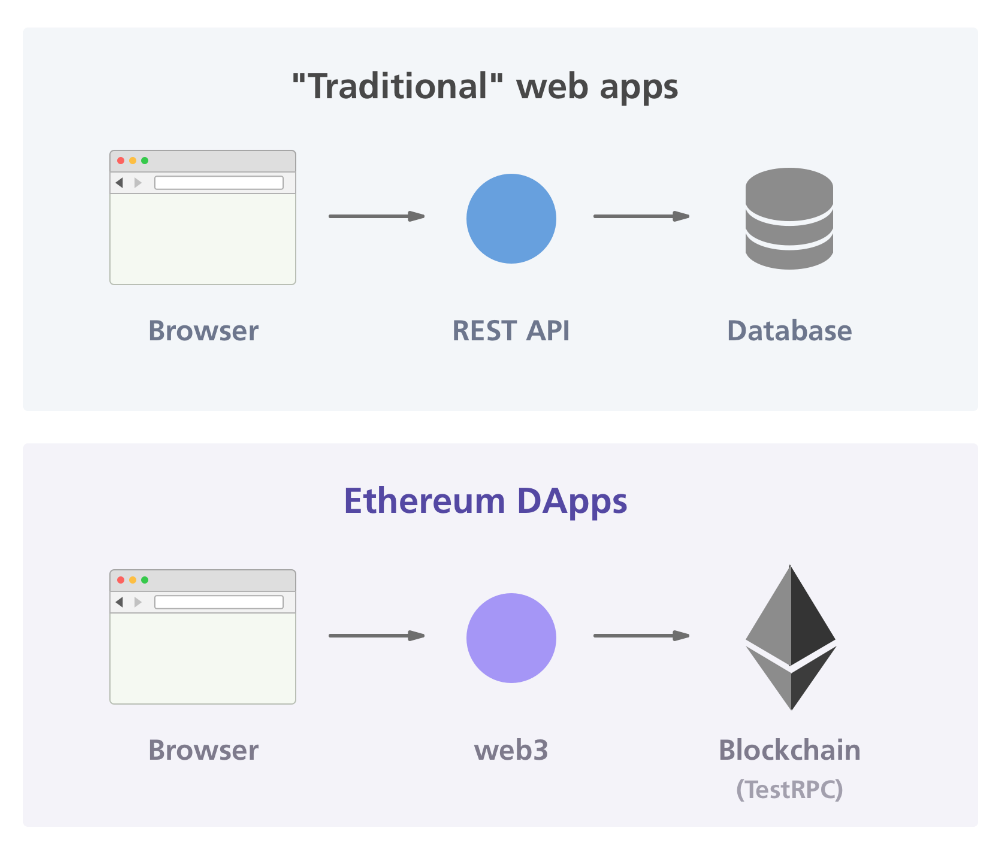
The next and most important dependency that we're going to need is web3.js. Web3 is a JavaScript API that sends requests to the Ethereum blockchain (either the real one or your local one). It acts as the middleman between your frontend and your smart contracts.
To install Web3 for your project, run the following NPM command in the same folder:
npm install web3 --saveWe're now going to use Web3 to connect to our local Ethereum node (you're still running the ganache-cli command in the background, right?).
When starting Ganache CLI, you should've seen the message Listening on localhost:8545. Using the Web3 library, we can use the concept of a provider to connect to that network.
// index.js

// Import the Web3 library at the top of your file
const Web3 = require('web3');

// ... (the rest of your code)

// Set up a provider
const provider = new Web3.providers.HttpProvider("http://localhost:8545");

// Connect to the network and save it as "web3"
const web3 = new Web3(provider);
You can remove the console.log function that we added earlier at this point.
Deploying our contract
Now that our file can connect to the (local) Ethereum network via web3, we want to upload our newly-created contract to an address on the network.
In order to do that, we first need to use web3 to create a Contract object out of our compiled code. This will make it much easier to interact with our contract using JavaScript.
// index.js
// ...
// Get the compiled contract's abi (interface)
const { HelloWorld } = output.contracts["HelloWorld.sol"]
const { abi, evm } = HelloWorld // We'll use the "evm" variable later
// Initialize a new contract object:
const contract = new web3.eth.Contract(abi);
console.log(contract);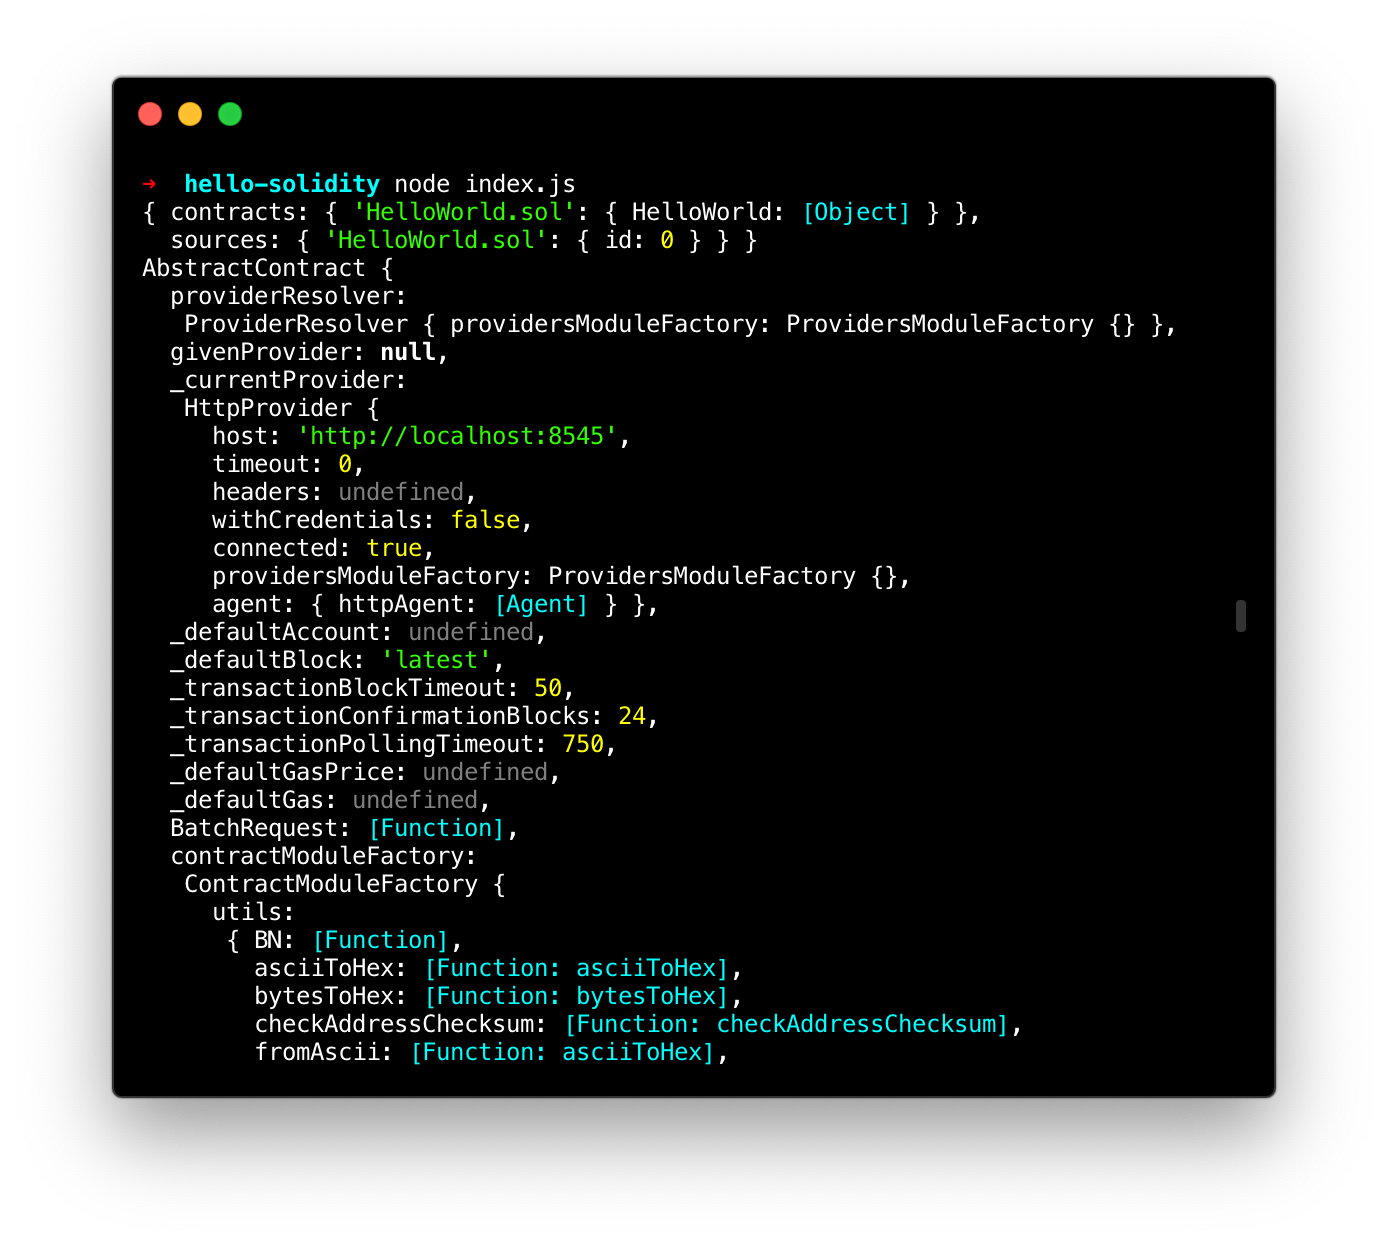 If you run the program again with "node index.js", you can see what our contract object looks like.
Now, in order to deploy this contract to an address, we need to use gas and spend some ether by following these three steps:
-
Get an address from our test wallet.
-
Get the current gas price
-
Spend some (fake) ether from our address to deploy our HelloWorld contract to a new random address.
-
Get the deployed contract instance and call its
getMyNamefunction.
Since a lot of web3's API is promise-based, we're going to use Node's async/awaitfunctionality to make the code more readable (so make sure that your Node version is 7.6 or higher)!
// index.js

// ...

const deployAndRunContract = async () => {
  // Get the addresses of Ganache's fake wallet:
  const addresses = await web3.eth.getAccounts();

  // Get the current price of gas
  const gasPrice = await web3.eth.getGasPrice();

  // Deploy the HelloWorld contract (its bytecode)
  // by spending some gas from our first address
  contract.deploy({
    data: evm.bytecode.object,
  })
  .send({
    from: addresses[0],
    gas: 1000000,
    gasPrice,
  })
  .on('confirmation', async (confNumber, receipt) => {
    const { contractAddress } = receipt
    console.log("Deployed at", contractAddress);

    // Get the deployed contract instance:
    const contractInstance = new web3.eth.Contract(abi, contractAddress)

    // Call the "getMyName" function and log the result:
    const myName = await contractInstance.methods.getMyName().call();
    console.log("Result from blockchain:", myName);
  })
  .on('error', (err) => {
    console.log("Failed to deploy:", error)
  })
}

deployAndRunContract(); // Call the function
In order to ensure that we spend enough gas to get our contract deployed, we can just choose an arbitrary high number, like one million (1,000,0001,000,000) gas.
This is what your final codebase should look like:
// index.js

const fs = require('fs');
const solc = require('solc');
const Web3 = require('web3');

const content = fs.readFileSync('HelloWorld.sol', 'utf-8');

const input = {
  language: 'Solidity',
  sources: {
    'HelloWorld.sol' : {
      content,
    }
  },
  settings: {
    outputSelection: {
      '*': {
        '*': ['*']
      }
    }
  }
};

const output = JSON.parse(solc.compile(JSON.stringify(input)));

const provider = new Web3.providers.HttpProvider("http://localhost:8545");
const web3 = new Web3(provider);

const { HelloWorld } = output.contracts["HelloWorld.sol"];
const { abi, evm } = HelloWorld;

const contract = new web3.eth.Contract(abi);

const deployAndRunContract = async () => {
  const addresses = await web3.eth.getAccounts();
  const gasPrice = await web3.eth.getGasPrice();

  contract.deploy({
    data: evm.bytecode.object,
  })
  .send({
    from: addresses[0],
    gas: 1000000,
    gasPrice,
  })
  .on('confirmation', async (confNumber, receipt) => {
    const { contractAddress } = receipt
    console.log("Deployed at", contractAddress);

    const contractInstance = new web3.eth.Contract(abi, contractAddress)

    const myName = await contractInstance.methods.getMyName().call();
    console.log("Result from blockchain:", myName);
  })
  .on('error', (err) => {
    console.log("Failed to deploy:", error)
  })
}

deployAndRunContract();
If you run this code one last time with node index.js, you should finally get the satisfactory result that you've been waiting for:
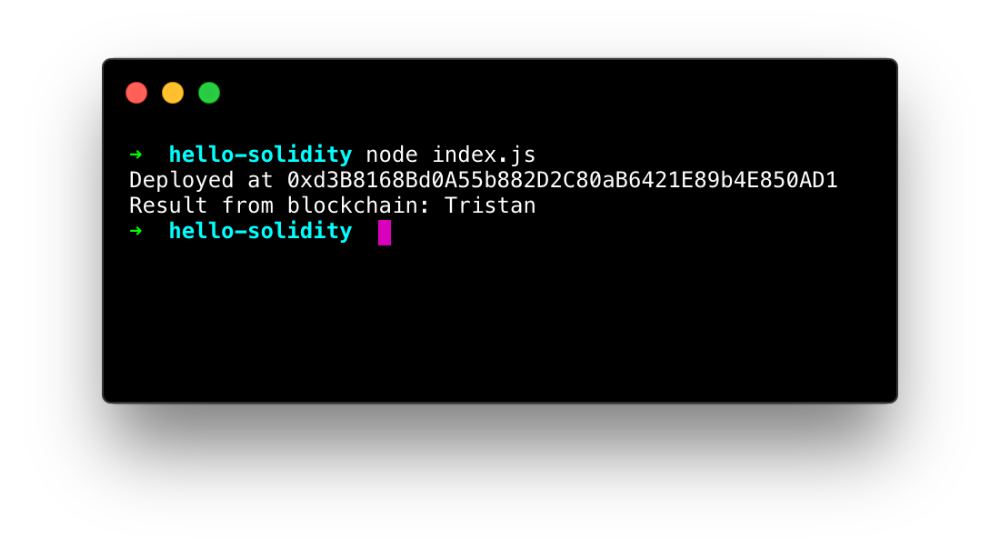 It says "Tristan" -- the contract works!
What you've done might not seem very remarkable, but it's actually pretty cool. You have:
-
Created an compiled your first Solidity contract.
-
Deployed the contract to your (local) Ethereum network
-
Called one of the functions of the uploaded contract in order to read data stored on the network
If this contract was on the real Ethereum network, anyone would be able to call getMyName from their computer and see the value "Tristan". Pretty cool, huh?
In the next chapter, we'll use the well-known Truffle framework to see how we can automate many of the steps that we had to write code for now.