So we managed to post a new tweet in the previous chapter -- great! However, that action is pretty pointless if you cannot see the tweet anywhere afterwards...
Creating the profile page
Let's start by creating the user's profile page, and display all of the user's tweets there.
The first thing we want to do is create a getUserIdFromUsername function in our frontend, since we'll be fetching a user based on the username in the browser URL (e.g. my user profile would be found at /profile?u=tristan.
// client/web3/users.js
// ...
export const getUserIdFromUsername = async (username) => {
const storage = await getInstance(UserStorage)
const userId = await storage.usernames.call(username)
return userId
}
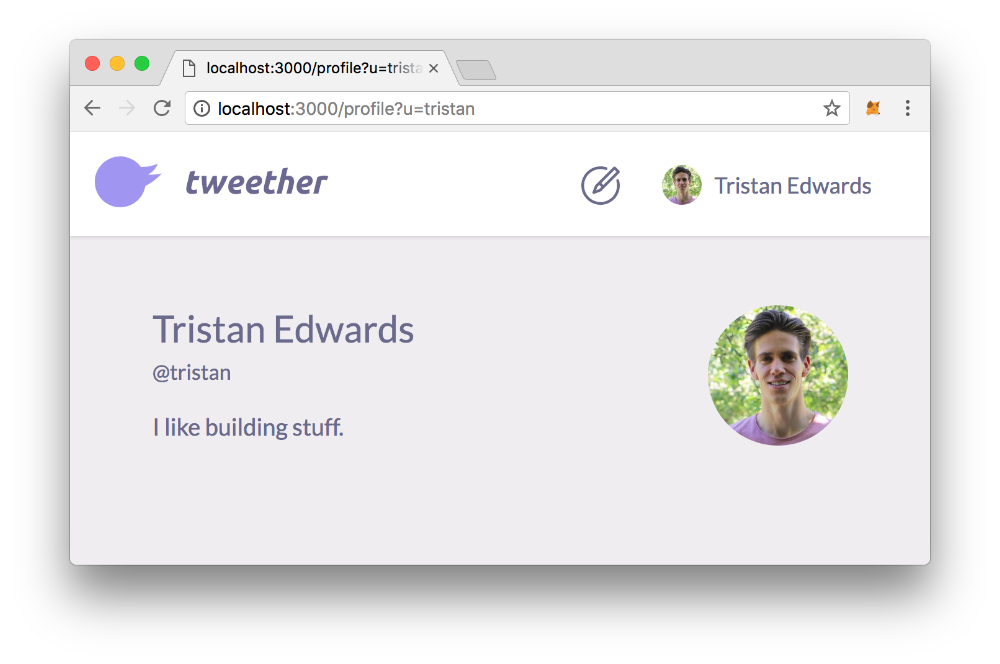
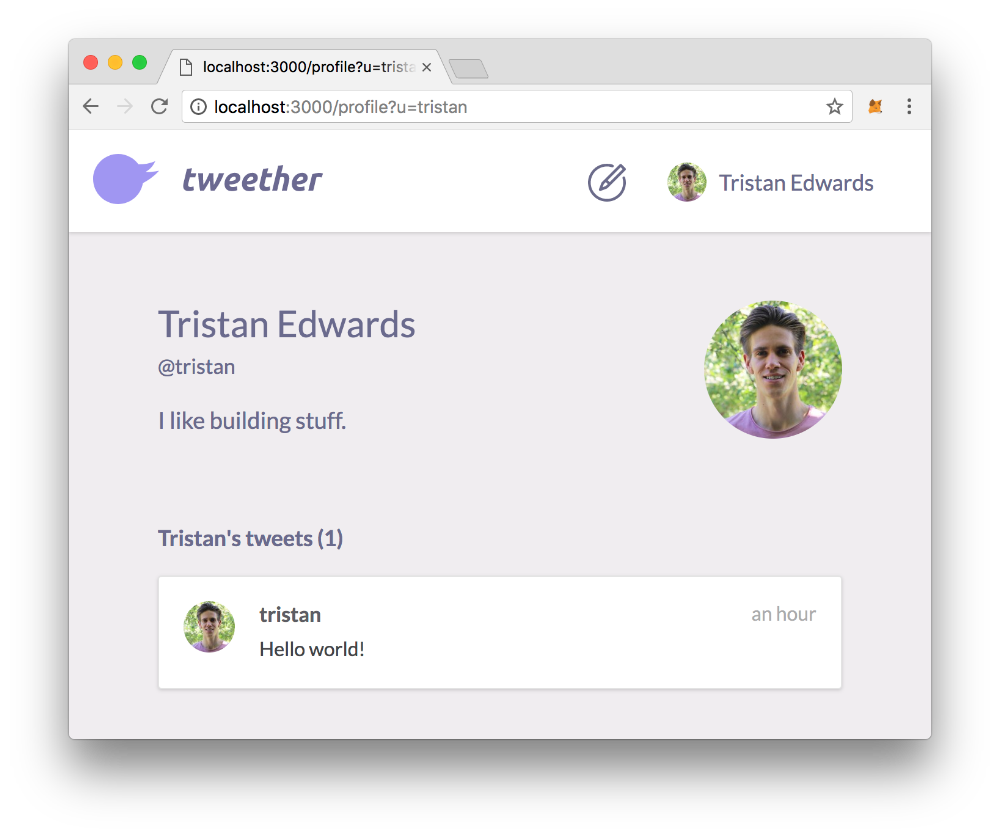
// ...With this, we can create a new basic profile page showing the user's avatar, name and bio. We'll name the file profile.js:
// client/pages/profile.js

import React from 'react'
import { withRouter } from 'next/router'

import { Page, Center } from '../components/Layout'
import Avatar from '../components/Avatar'

import { getUserIdFromUsername, getUserInfo } from '../web3/users'

const AVATAR_SIZE = 113

class ProfilePage extends React.Component {
  state = {
    profile: {},
  }

  async componentDidMount() {
    const { router } = this.props
    const userId = await getUserIdFromUsername(router.query.u)

    this.loadProfile(userId)
  }

  loadProfile = async (userId) => {
    const profile = await getUserInfo(userId)

    this.setState({
      profile,
    })
  }

  render() {
    const { profile } = this.state
    const { username, firstName, lastName, bio, gravatarEmail } = profile

    return (
      <Page>
        <Center style={{
          maxWidth: 560,
        }}>
          {username && (
            <div className="profile-top">
              <div className="info">
                <h1>
                  {firstName} {lastName}
                </h1>
                <p className="username">
                  @{username}
                </p>
                <p className="desc">
                  {bio}
                </p>
              </div>
              <Avatar
                size={AVATAR_SIZE}
                email={gravatarEmail}
              />
            </div>
          )}

        </Center>

        <style jsx>{`
          .profile-top {
            margin: 40px 0;
          }
          .info {
            display: inline-block;
            width: calc(100% - ${AVATAR_SIZE}px);
            vertical-align: top;
          }
          h1 {
            font-size: 30px;
            font-weight: 500;
          }
          .username {
            font-size: 17px;
            font-weight: 400;
            margin: 7px 0;
          }
          .desc {
            font-size: 19px;
            font-weight: 400;
            margin-top: 22px;
          }

          h2 {
            font-size: 18px;
            font-weight: 600;
            margin-top: 70px;
          }
        `}</style>

      </Page>
    )
  }
}

export default withRouter(ProfilePage)
Now, in your browser, go to the URL localhost:3000/profile?u=tristan (or whatever username you picked) and you should see something similar to this:
Rendering the tweets
Now we want to display the tweets on the page as well. The first thing we'll need is a getTweetIdsFromUser function in our frontend:
// client/web3/tweets.js

// ...

export const getTweetIdsFromUser = async (userId) => {
  const storage = await getInstance(TweetStorage)
  const tweetIds = await storage.getTweetIdsFromUser.call(userId)

  return tweetIds.map(tweetId => parseInt(tweetId))
}

// ...
We'll start by simply logging the tweet IDs in our profile page to make sure that they were fetched correctly.
// client/pages/profile.js

// ...

import { getTweetIdsFromUser, getTweetInfo } from '../web3/tweets' // <-- Add this line!

class ProfilePage extends React.Component {
  // ...

  async componentDidMount() {
    // ...

    this.loadProfile(userId)
    this.loadTweets(userId) // <-- And this!
  }

  // ...

  // And this method:
  loadTweets = async (userId) => {
    // Fetch the IDs:
    const tweetIds = await getTweetIdsFromUser(userId)

    // Fetch the tweet info for every tweet ID:
    const tweetPromises = tweetIds.map(tweetId => {
      return getTweetInfo(tweetId)
    })

    const tweets = await Promise.all(tweetPromises)

    console.log(tweets)
  }

  render() {
    // ...
  }
}

// ...
Refresh the page and you'll hopefully see the tweet that you posted earlier in your JavaScript console:
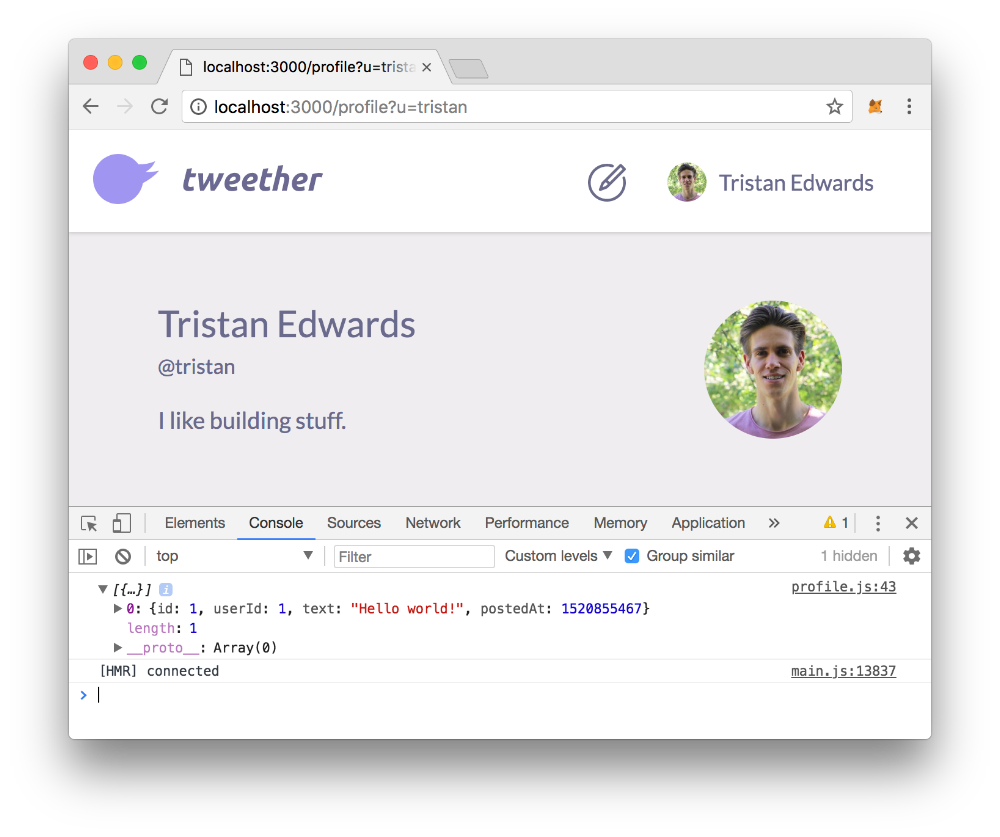 There it is!
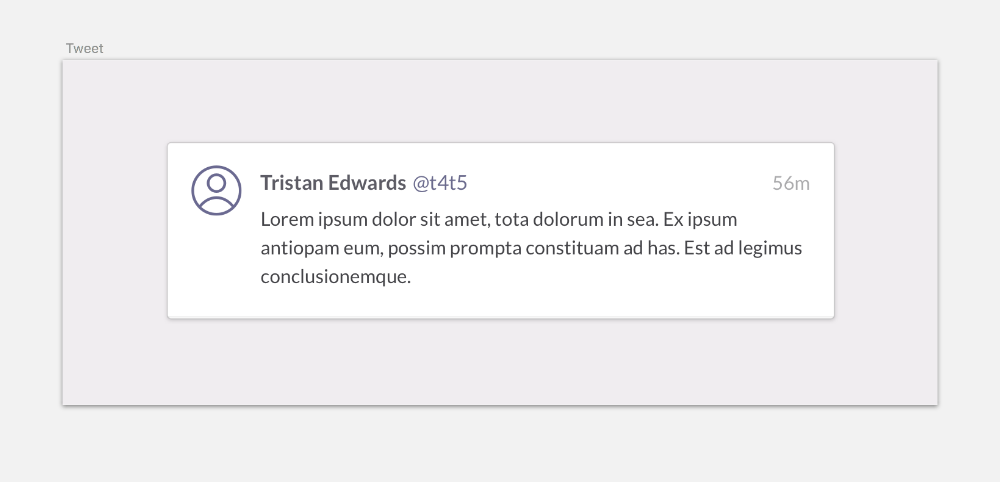
Next, we'll create components to actually render these tweets. First, we'll need a component for a single tweet. Let's check our reference mockups so that we know how to design it:
One obvious thing that we're still missing is the user data for every tweet. In the info we logged, we can only see the user's ID -- but we also need their username and avatar at the very least!
To fix that, we'll create a new function called loadTweetsFromTweetPromises which loops through every tweet and fetches the user info for it (this could probably be made more efficient using a state library like Redux, but it's good enough for this project).
// client/web3/tweets.js

// ...

import { getUserInfo } from './users' // <-- Add this line!

// ...

export const loadTweetsFromTweetPromises = async (tweetPromises) => {
  const tweets = await Promise.all(tweetPromises)

  const userPromises = tweets.map(tweet => {
    const { userId } = tweet
    return getUserInfo(userId)
  })

  const users = await Promise.all(userPromises)

  return tweets.map((tweet, index) => {
    return {
      user: users[index],
      ...tweet,
    }
  })
}

// ...
Now we use this function in the profile.js and log the new data:
// client/pages/profile.js
// ...
// Add "loadTweetsFromTweetPromises":
import { getTweetIdsFromUser, getTweetInfo, loadTweetsFromTweetPromises } from '../web3/tweets'
// ...
class ProfilePage extends React.Component {
// ...
loadTweets = async (userId) => {
const tweetIds = await getTweetIdsFromUser(userId)
const tweetPromises = tweetIds.map(tweetId => {
return getTweetInfo(tweetId)
})
// Change this line:
const tweets = await loadTweetsFromTweetPromises(tweetPromises)
console.log(tweets)
}
render() {
// ...
}
}
// ...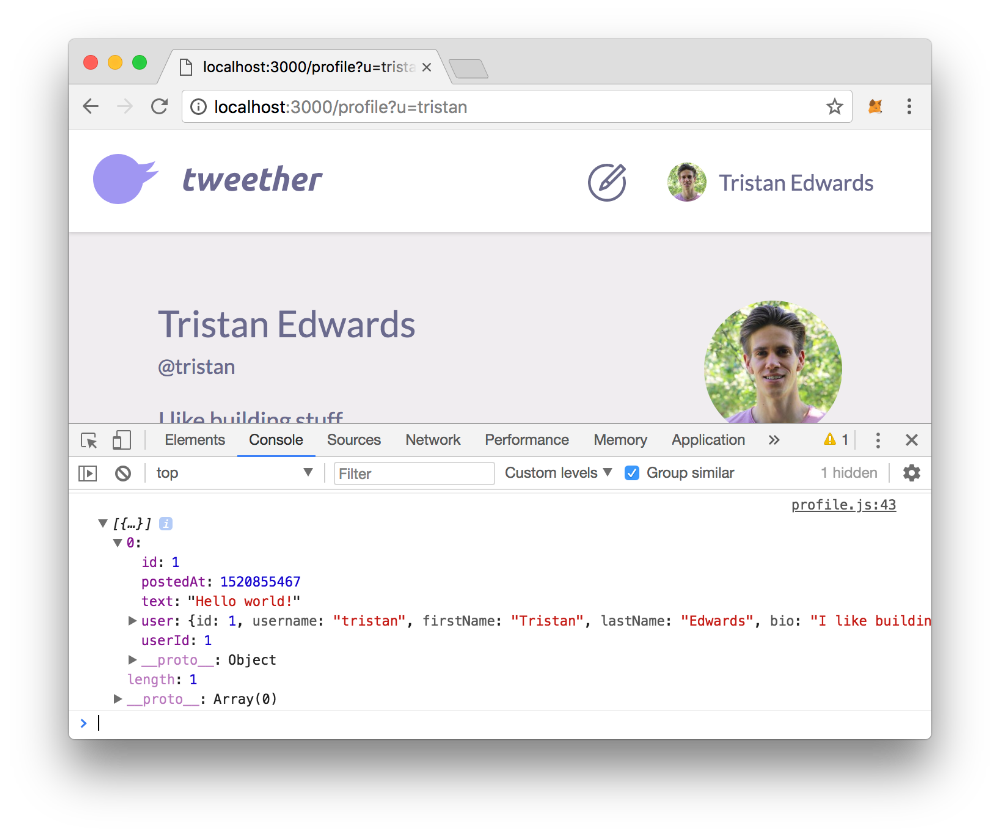 You should now see a new "user" field in your array of tweets!
In the UI, we also want to display the timestamp relatively to the current time (e.g. "2 hours ago"), so we'll download the react-moment library for that.
npm install react-moment --saveNow that we have everything that we need, let's build that Tweet-component!
// client/components/Tweet.js

import Link from "next/link"
import Moment from "react-moment"

import Avatar from "./Avatar"

export default ({ tweet }) => {
  const { text, user, postedAt } = tweet
  const { username, gravatarEmail } = user

  return (
    <div className="tweet">
      <Avatar size={42} email={gravatarEmail} />

      <div className="info">
        <div className="top">
          <Link href={`/profile?u=${username}`}>
            <a className="username">
              {username}
            </a>
          </Link>
          <time>
            <Moment fromNow ago unix>
              {postedAt}
            </Moment>
          </time>
        </div>

        <p>
          {text}
        </p>
      </div>

      <style jsx>{`
        .tweet {
          padding: 20px;
          border-bottom: 1px solid rgba(151,151,151,0.17);
        }
        .tweet:last-child {
          border-bottom: none;
        }
        .avatar {
          width: 42px;
          height: 42px;
          background-color: gray;
          border-radius: 50%;
          display: inline-block;
        }
        .info {
          display: inline-block;
          vertical-align: top;
          margin-left: 20px;
          width: calc(100% - 62px);
        }
        .top {
          display: flex;
        }
        a {
          font-size: 17px;
          color: #5D5D65;
          font-weight: 600;
          flex-grow: 1;
          text-decoration: none;
        }
        a:hover {
          text-decoration: underline;
        }
        p {
          font-size: 16px;
          color: #444448;
          line-height: 24px;
          margin-top: 6px;
        }
        time {
          font-size: 16px;
          color: rgba(68,68,72,0.45);
        }
      `}</style>
    </div>
  )
}
We also want to have a wrapping TweetList component which loops through the list of tweets and renders every one of them as a Tweet component:
// client/components/TweetList.js

import Tweet from './Tweet'

export default ({ tweets = [] }) => (
  <ul className="feed">
    {!tweets.length && <p>No tweets yet.</p>}

    {tweets.map(tweet => <Tweet key={tweet.id} tweet={tweet} />)}

    <style jsx>{`
      .feed {
        background-color: white;
        border: 1px solid rgba(0,0,0,0.11);
        box-shadow: 0 1px 3px 0 rgba(0,0,0,0.15);
        border-radius: 3px;
        max-width: 560px;
        margin: 20px auto;
      }
      p {
        padding: 20px;
        text-align: center;
      }
    `}</style>
  </ul>
)
Finally, we make some changes to our profile page, so that the tweets are added to the component state and the TweetList is rendered in the middle of the page.
// client/pages/profile.js
// ...
import TweetList from "../components/TweetList" // <-- Add this line
class ProfilePage extends React.Component {
state = {
profile: {},
tweets: [], // <-- Add this line!
}
// ...
loadTweets = async (userId) => {
{/* ... */}
const tweets = await loadTweetsFromTweetPromises(tweetPromises)
// Remove the console.log, and add this instead:
this.setState({
tweets,
})
}
render() {
const { profile, tweets } = this.state // <-- Add "tweets"
// ...
return (
<Page>
<Center style={{
maxWidth: 560,
}}>
{username && (
{/* Add a wrapping <div> around ".profile-top": */}
<div>
<div className="profile-top">
{/* ... */}
</div>
{/* Add this: */}
<h2>
{firstName}'s tweets ({tweets.length})
</h2>
<TweetList tweets={tweets} />
</div>
)}
</Center>
{/* ... */}
</Page>
)
}
}
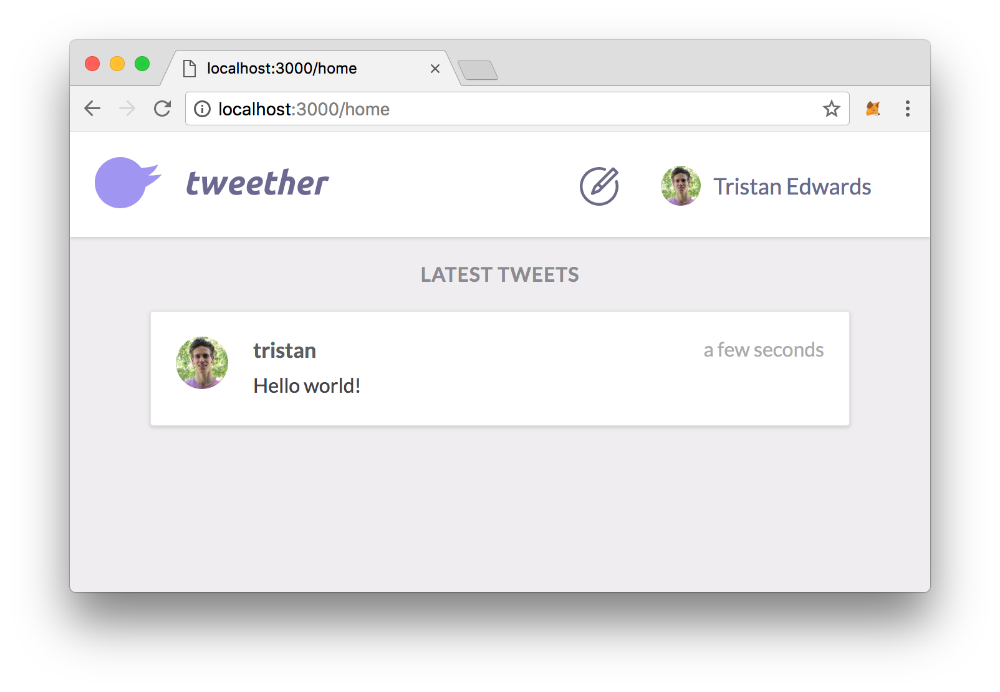
{/* ... */}Refresh the page and you should see your rendered tweet on the page!
 Awesome!
Preparing the contract for a news feed
The final feature that we need in our DApp is the ability to display all the latest tweets in some kind of "news feed".
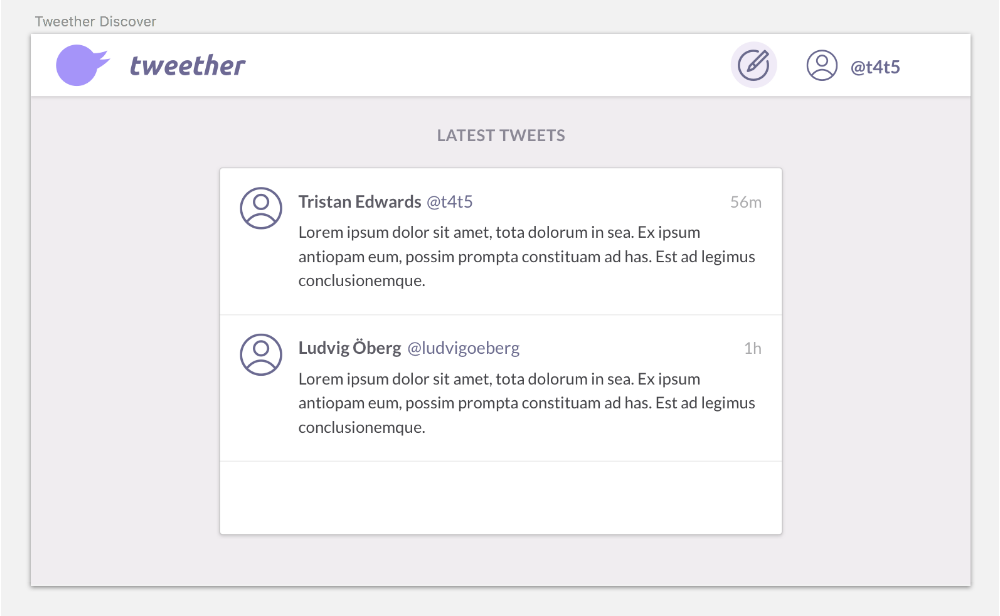 A mockup of our news feed.
In our current TweetStorage contract though, there's no way for us to fetch a list of all the posted tweets, since we're storing them all as a mapping and not an array.
A solution to this problem would be to rewrite our contract, and store all the tweet IDs in an array. We would then have to push a new ID into the array every time a tweet is created.
// contracts/tweets/TweetStorage.sol
// ...
contract TweetStorage is BaseStorage {
mapping(uint => Tweet) public tweets;
mapping (uint => uint[]) userTweetIds;
uint[] public tweetIds; // <-- Add this line!
// ...
function createTweet(uint _userId, string _text) public onlyController returns(uint) {
// ...
userTweetIds[_userId].push(latestTweetId);
tweetIds.push(latestTweetId); // <-- And this one!
return latestTweetId;
}
// ...
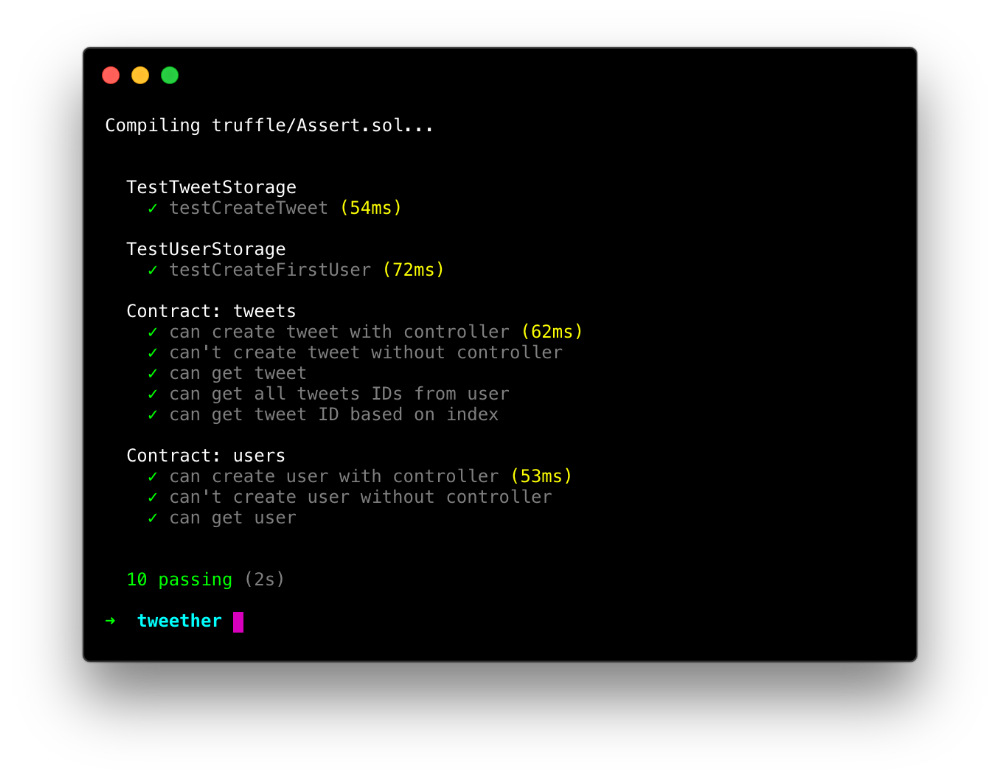
}Let's also write a short test to make sure that we can get an ID from this array by providing an index:
// test/integration/tweets.js

// ...

contract('tweets', () => {

  // ...

  it("can get tweet ID based on index", async () => {
    const storage = await TweetStorage.deployed()

    const tweetId = await storage.tweetIds.call(0)

    assert.equal(tweetId, 1)
  })

})
Before we move on to the frontend, let's remember that a news feed always shows the latest entries first, so we actually want to be able to fetch the array's data in a reverse order.
In order to be able to do this, we need to know what the last index of the array is, and the only way to know that is to know the array's length. Therefore we should add a getNumTweets getter function to our storage contract, which simply returns the size of the list as an integer.
// contracts/tweets/TweetStorage.sol

// ...

contract TweetStorage is BaseStorage {

  // ...

  function getNumTweets() view public returns(uint _numTweets) {
    return tweetIds.length;
  }

  // ...

}
Rendering our news feed
Once again, we need to re-run npm run dev in order for the updated contracts to be compiled and redeployed.
Note that you'll have to recreate your user and your tweets again after doing this.
We now want to create a getLatestTweetIds function for our frontend. We're going to try to build it in a extensible way using amount and page parameters, so that we can use infinite scrolling in a future version of our DApp (in case the list of tweets grows to be really long).
By default, we will start with the 5 latest tweets.
// client/web3/tweets.js

// ...

export const getLatestTweetIds = async (amount = 5, page = 1) => {
  const storage = await getInstance(TweetStorage)

  const numTweets = await storage.getNumTweets.call()
  const tweetIdPromises = []

  const lastIndex = numTweets - 1 // Latest
  const pageIndex = page - 1
  const startIndex = lastIndex - (amount * pageIndex)
  const maxIndex = startIndex - amount

  for (let i = startIndex; i > maxIndex; i--) {
    if (i < 0) break

    tweetIdPromises.push(storage.tweetIds(i))
  }

  const tweetIds = await Promise.all(tweetIdPromises)

  return tweetIds
}

// ...
Using this, we can now create our final page, home.js, and render the list of tweets in it.
// client/pages/home.js

import { Page, Center } from "../components/Layout"
import { getLatestTweetIds, getTweetInfo, loadTweetsFromTweetPromises } from '../web3/tweets'

import TweetList from '../components/TweetList'

export default class HomePage extends React.Component {
  state = {
    tweets: [],
  }

  componentDidMount() {
    this.loadLatestTweets()
  }

  loadLatestTweets = async () => {
    const tweetIds = await getLatestTweetIds()

    const tweetPromises = tweetIds.map(tweetId => {
      return getTweetInfo(tweetId)
    })

    const tweets = await loadTweetsFromTweetPromises(tweetPromises)

    this.setState({
      tweets,
    })
  }

  render() {
    const { tweets } = this.state

    return (
      <Page>
        <Center>
          <h2>
            Latest tweets
          </h2>

          <TweetList tweets={tweets} />
        </Center>

        <style jsx>{`
          h2 {
            font-size: 16px;
            color: rgba(84,83,98,0.64);
            letter-spacing: 0.5px;
            text-align: center;
            text-transform: uppercase;
            margin-bottom: 16px;
            margin-top: 4px;
          }
        `}</style>
      </Page>
    )
  }
}
Finally, we want to redirect to this new page if the user visits / and is logged in.
// client/pages/index.js

// ...

import { getLoggedInUserId } from "../web3/users"
import Router from 'next/router'

export default class IndexPage extends React.Component {

  // ...

  async componentDidMount() {
    const userId = await getLoggedInUserId()

    if (userId) {
      Router.replace('/home')
    }
  }

  render() {
    // ...
  }
}
And there you have it!
Congratulations! You should now have a pretty well-functioning DApp! In the next chapter, we're going to see how we can deploy it to one of Ethereum's public test networks.